Testing an RTSP HTML5 player
To test the player you will need an IP camera supporting the RTSP protocol, or another RTSP source
Make sure that your RTSP source supports the H.264 codec for video and the AAC or G.711 codec for audio, and the camera delivers the stream via the TCP protocol. The source parameters can be specified in the device or server documentation. Typically, an RTSP address looks like this: “rtsp://host:554/live.sdp”
Test plan
- Connect to WCS server
- Start playback of the video stream from your IP camera in the player
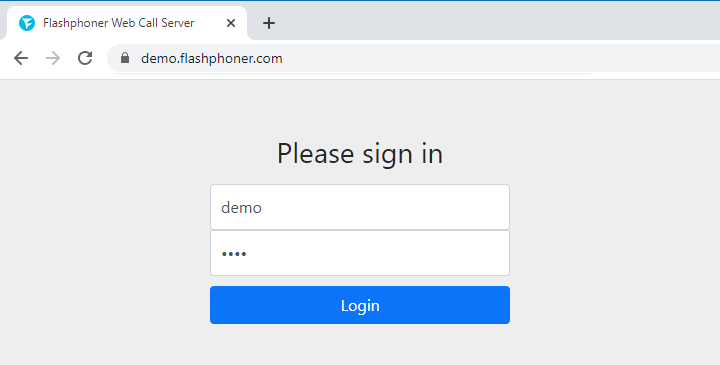
1. Log in to the server web-interface demo.flashphoner.com
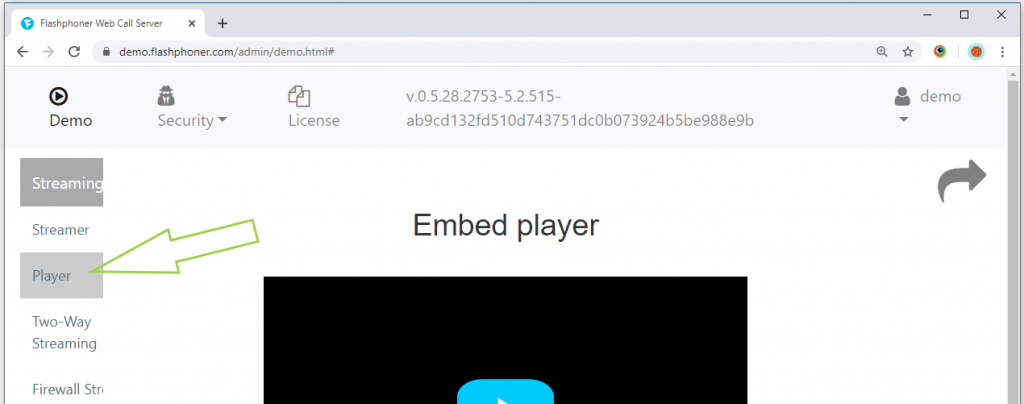
2. Select “Player” from the menu on the left side of the page
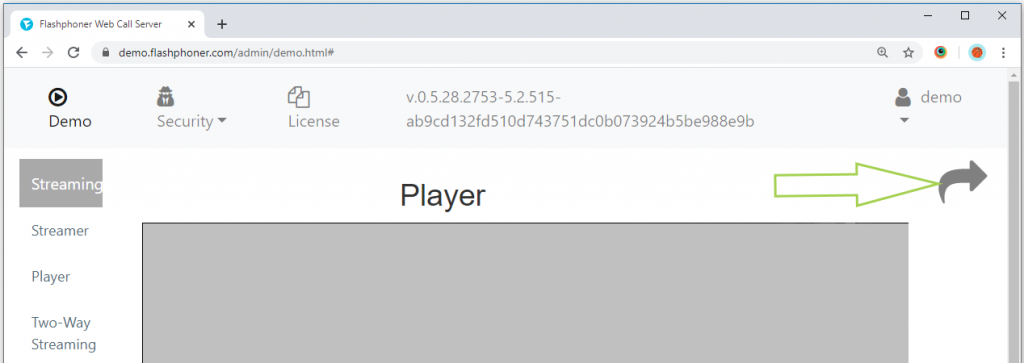
3. For the convenience of further testing, open the example in a new tab. To do this, click on the curved arrow in the upper right corner of the page
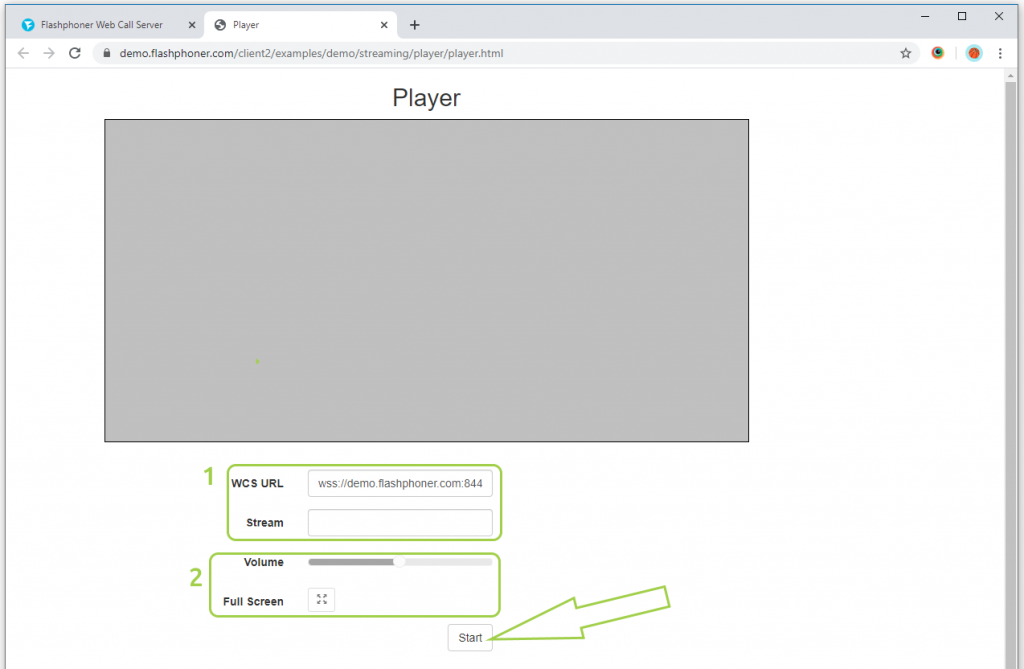
4. Fill in the “WCS URL” and “Stream” (1) fields. Usually the “WCS URL” field is filled in by default and contains the wss URL of the current WCS server. In the “Stream” field, you can specify the RTSP address of the video stream that your RTSP camera gives. To play the stream, click the “Start” button. You can adjust the volume using the “Volume” slider and expand the playback to full screen using the “Full Screen” button (2)
5. The page displays the current status of the connection and playback of the stream. To stop playback, click the “Stop” button
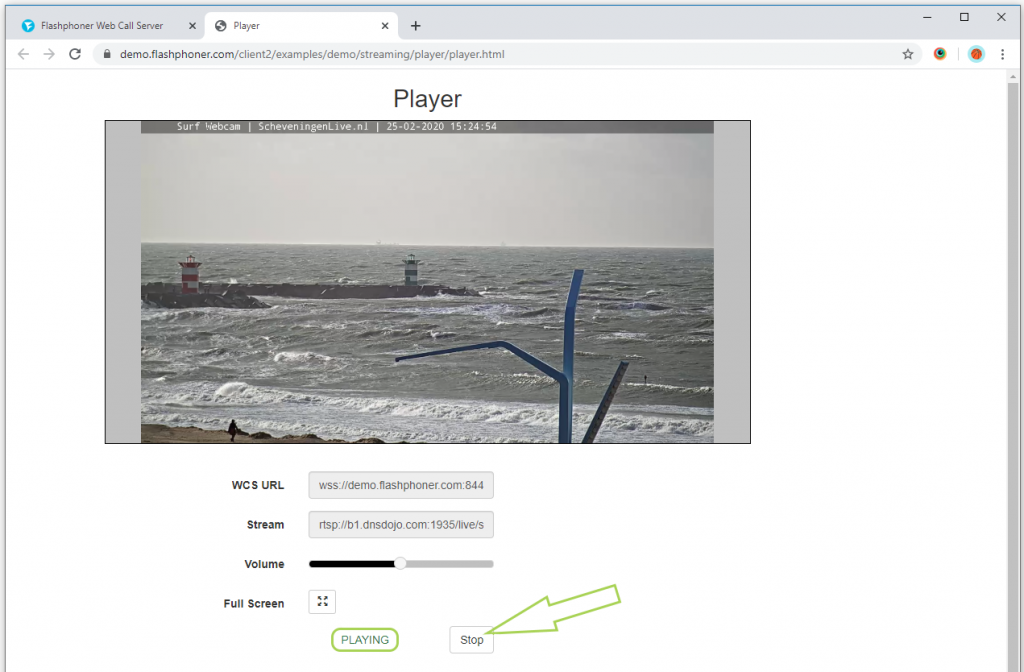
We have tested the player to work in Google Chrome. The player plays back video streams in other browsers and mobile applications for iOS and Android in a similar way.
To embed an RTSP player in your website, go to the Embedding page
Download Web Call Server 5
System requirements: Linux x86_64, 1 core CPU, 2 Gb RAM, Java
Installation:
- wget https://flashphoner.com/download-wcs5.2-server.tar.gz
- Unpack and install using 'install.sh'
- Launch server using command 'service webcallserver start'
- Open the web interface https://host:8444 and activate your license
If you are using Amazon EC2, you don't need to download anything.

