
Testing a screen sharing from a browser
Test sending a video stream with screen sharing using the Google Chrome browser
Use these instructions for quick installation and configuration of the server. In addition to that, you can connect to our demo server demo.flashphoner.com to perform the tests.
Test plan
- Connect to WCS server
- In the Google Chrome browser, share the screen and start publishing the video stream
- Check video stream playback in another browser
Screen sharing test
For clarity of this test, we additionally use the VLC media player application in which the video clip is played cyclically. In your testing, you can use other screen sharing options.
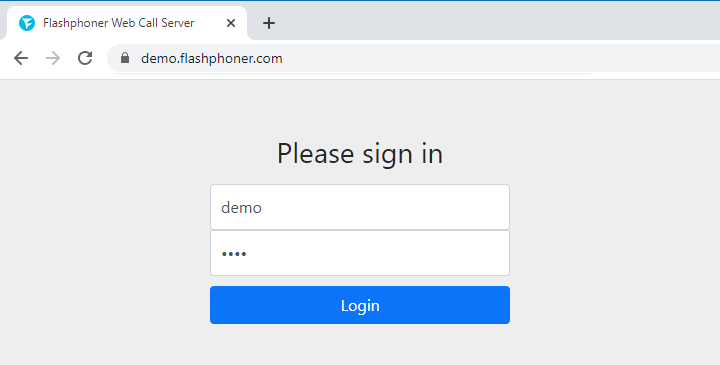
1. Log in to the web-interface of the server demo.flashphoner.com
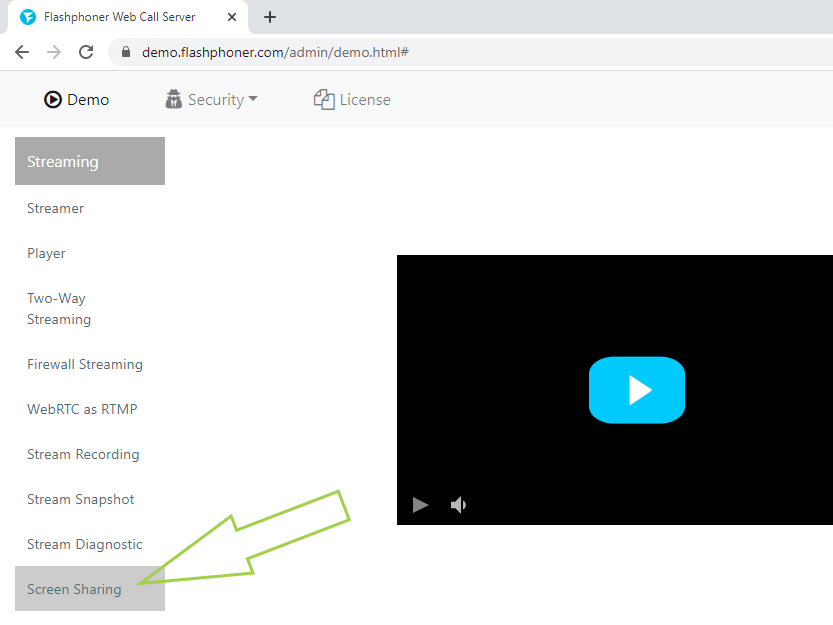
2. Select “Screen Sharing” from the menu on the left side of the page
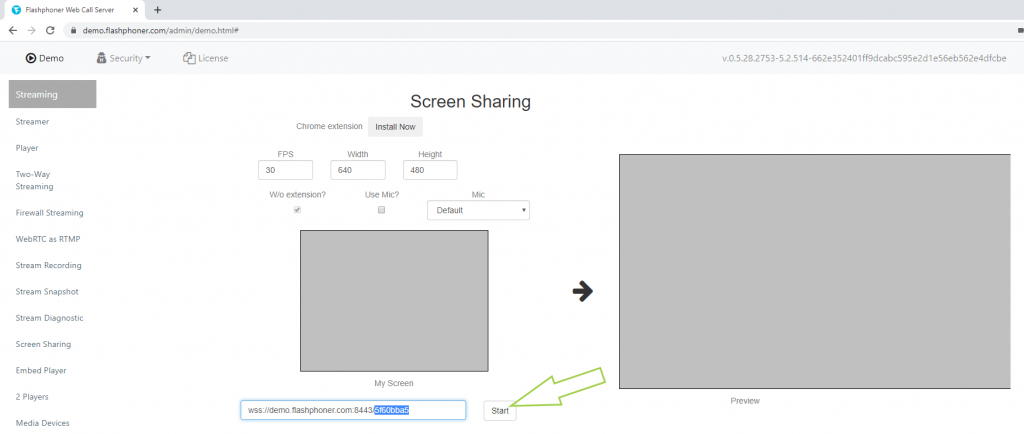
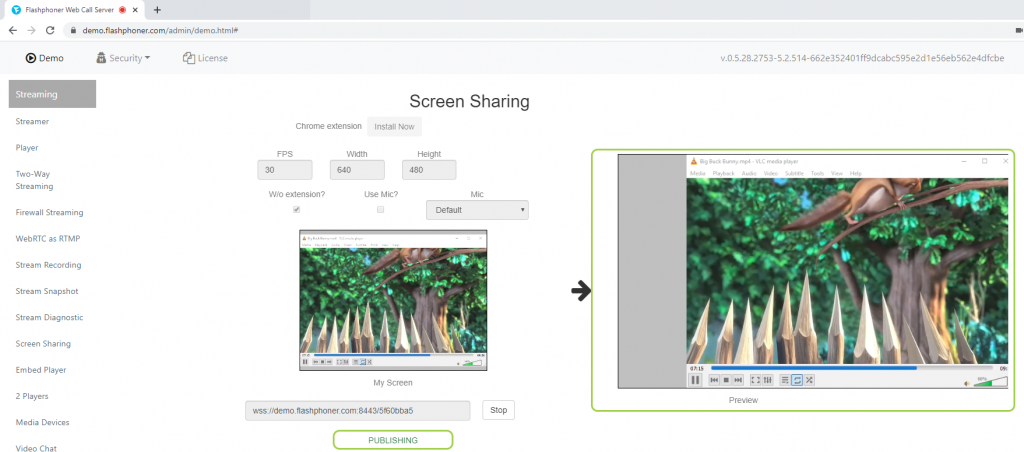
3. The line for entering the URL address of the stream by default shows the WSS address of your WCS server and a random stream name. Copy the stream name for further testing and click “Start”
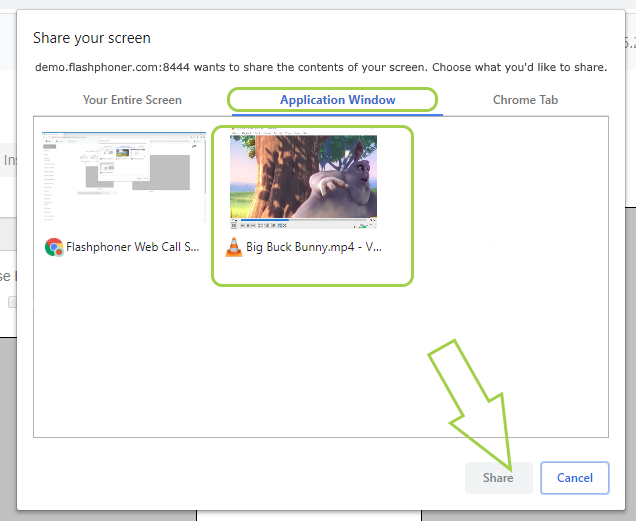
4. After clicking on the “Share Screen” button, the browser asks what exactly needs to be shared – the entire screen, application or a specific browser tab. For this testing, we selected the “Application Window” and the application “VLC media player”. Make a selection and click the “Share” button.
5. The page displays a preview of the broadcast stream with a screen demonstration. Also under the line with the stream name the current status of the stream on the WCS server is displayed
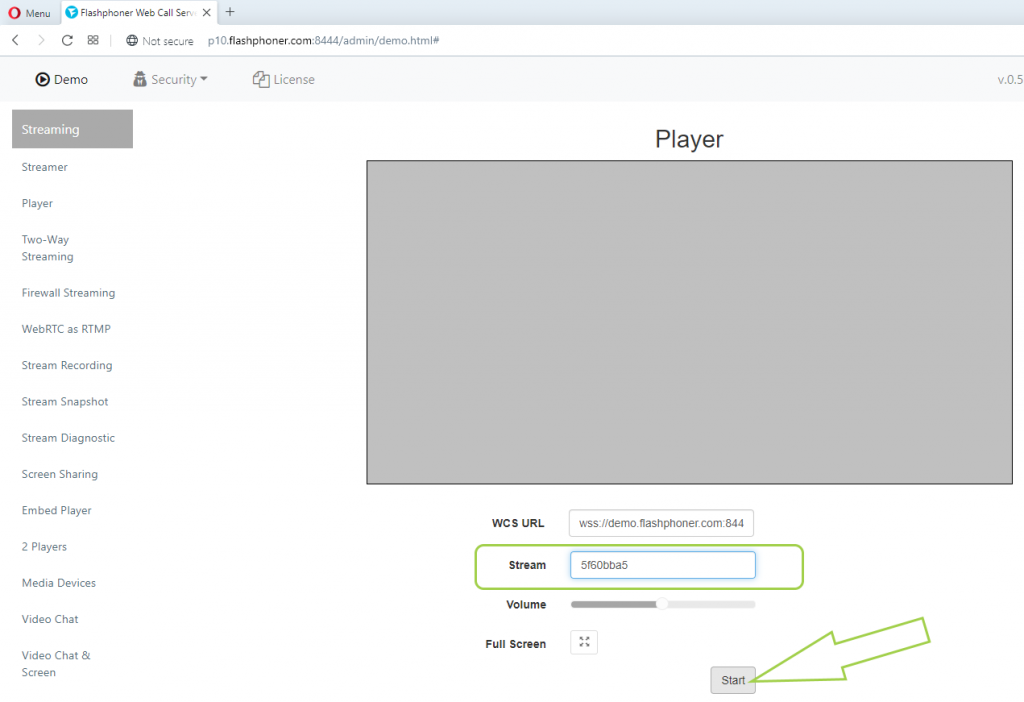
6. Open another browser, log in to the web interface of the server demo.flashphoner.com, select “Player” from the menu on the left side of the page, enter the stream name that you copied on the “Screen Sharing” page in the “Stream” field and click the “Start” button
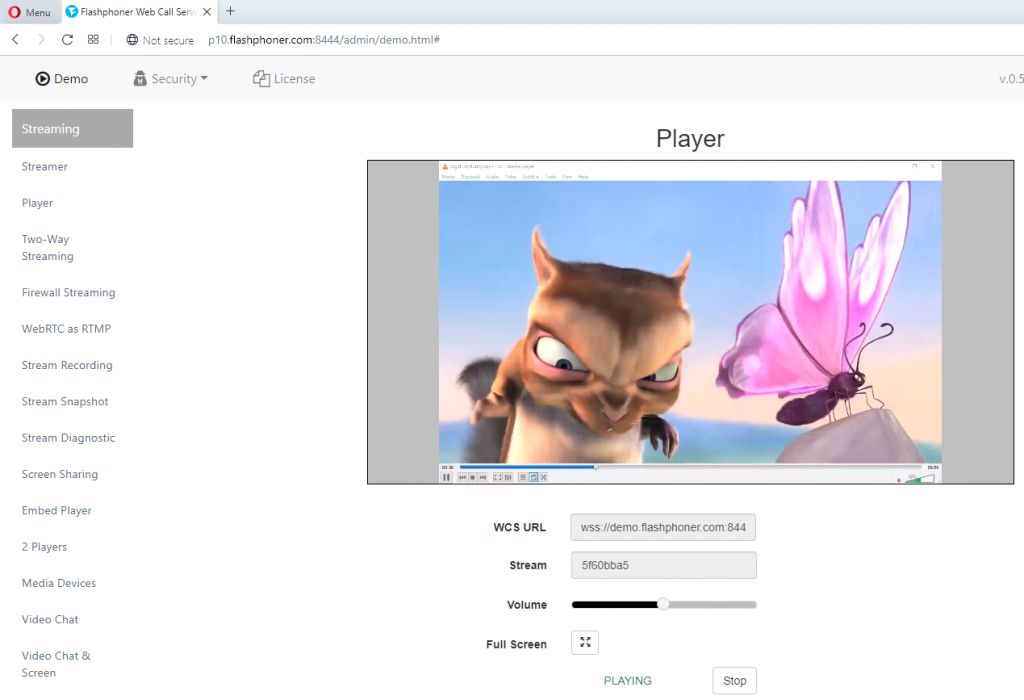
7. Done! In the other browser, we received a video stream of a screen demonstration that was launched in the Google Chrome browser
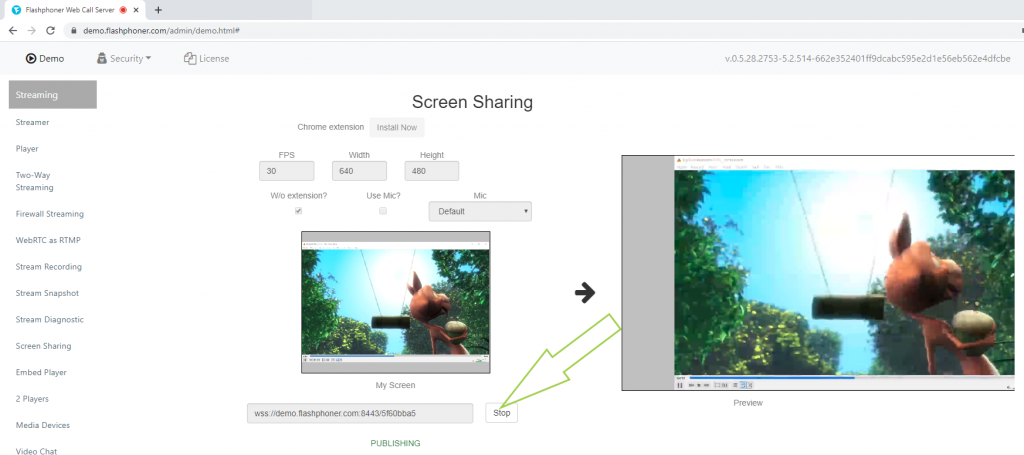
8. To complete the publication of the stream with a screen demonstration, we will return to the Chrome browser and click the “Stop” button
Above, we tested the screen sharing experience in Google Chrome. Similarly, screen sharing using a WCS server works in other browsers and mobile applications for Android.
To embed the capability to share screen in your website, go to the Embedding page
Download Web Call Server 5
System requirements: Linux x86_64, 1 core CPU, 2 Gb RAM, Java
Installation:
- wget https://flashphoner.com/download-wcs5.2-server.tar.gz
- Unpack and install using 'install.sh'
- Launch server using command 'service webcallserver start'
- Open the web interface https://host:8444 and activate your license
If you are using Amazon EC2, you don't need to download anything.