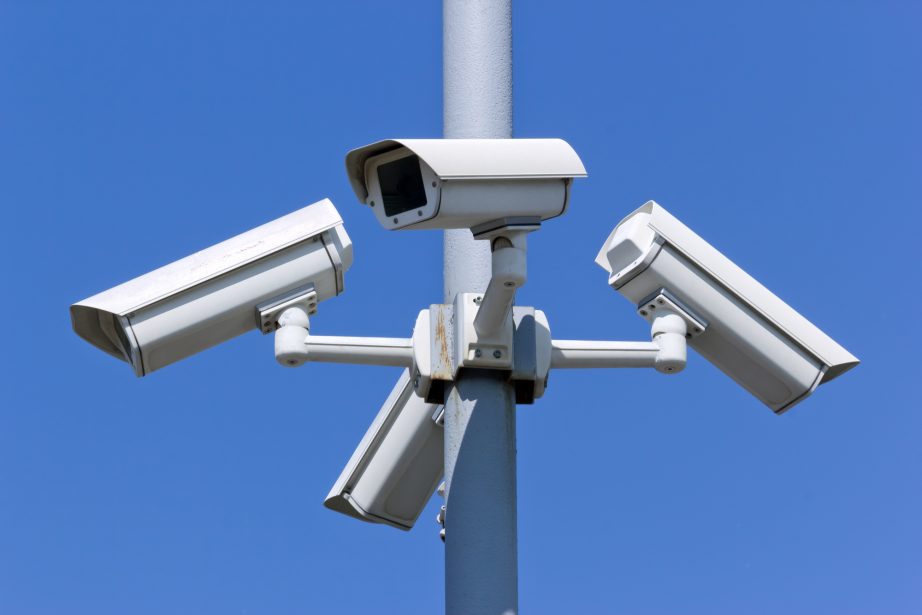
Mixing is a rather popular tool among streamers.
Mixers can be found under the hood of many products, most common of which are chats, video conferencing systems, and basic surveillance systems.
Mixing is a rather popular tool among streamers.
Mixers can be found under the hood of many products, most common of which are chats, video conferencing systems, and basic surveillance systems.
In a previous article we already discussed how to load test and choose the right server depending on the tasks and budget.
The testing turned out to be a “spherical chicken in vacuum.” We published a stream on one WCS, which we then retrieved a number of times with a second WCS, and, based on the results of these tests, drew conclusions about the hardware efficiency.
Such a test of one server with another of the same kind is not a completely independent test. In this case, the stream subscription procedure is somewhat simplified for the server under test, compared to the browser in which the end user will watch the stream. Therefore, the test results will be somewhat different from the real picture.
The simplest and most logical way to test is to perform a manual test – open the browser, open the tab with the player, specify the stream name and click “Play.” Repeat 1000 times.
And that’s where this all falls apart. First, you have to run the player 1000 times. I doubt it will be easy! Secondly, you need to prepare a cluster of several powerful servers to run the browser with a thousand tabs on which the video will be played. Thirdly, the manual test under these conditions will take quite a long time. For these reasons, the manual test should not be considered as one of the load testing methods.
In this article we’ll review another way of testing — using a Нeadless-browser and compare the results of such testing with testing based on stream capture.
John was happy. He’d just turned in a commission and he was enjoying a relaxing evening. Hours upon hours of development, optimization, testing, changes and approvals were left behind.
And just as he was contemplating picking up a nice cold beer, his phone rang.
“Only half the viewers could connect to the stream!” — said the voice on the other side of the line.
With a resigned sigh, John opened up his laptop and started pouring through logs.
Unfortunately, in all of those many tests, he never considered that a big number of viewers would mean great strains for the server infrastructure and the network itself.
As it happens, John is not alone in his plights. Many users reach out to tech support with questions like these:
“What kind of server do I need for 1000 viewers?”
“My server is solid, but only 250 viewers can connect simultaneously, the rest either can’t join, or get stuck with terrible video quality”
Such questions have one inquiry in common: How does one choose a correct server?
Previously we’d already touched on the topic of choosing a server based on the number of subscribers. Here’s the gist:
1. When choosing a server for streaming—with or without balancing—you need to take into the account the load profiles:
Frequent requests to our support include questions about organizing monitoring for WebRTC streaming. As a rule, it is important for a streamer to know what is happening on the “other side” – i.e. to assess the stream quality, the number of viewers and other parameters. The quality of the stream, as has already been discussed many times, is not constant and depends on many factors, such as the load on the server with or without transcoding, and the use of TCP or UDP transport protocols, and the presence of packet loss and/or NACK feedbacks, etc. All these data for assessing stream quality can be obtained manually from various sources.
Stream degradation is a condition of a video/audio stream, in which the picture and sound quality is not satisfactory. There are artifacts, friezes, stuttering, or out of sync sound.
The Internet is full of guides on how to record what’s happening on the screen into a file using FFmpeg. In this article, we’ll go a step further and we’ll see how to broadcast screensharing via FFmpeg and create a stream on your site.
It goes without saying that there are many streaming solutions out there, both paid and free. FFmpeg, however, retains its prominence thanks to its cross-platform support, minimalist interface (which is non-existent, since the control is executed through the OS console) and its vast functionality. There are many FFmpeg-based programs for file conversion. FFmpeg is absolutely self-sufficient. You don’t need to search for a movie online, you don’t need to download and install codecs. All you need is a single file (ffplay.exe), that contains all the necessary codecs.
We can sing it praises all day, but today we’re here for a different reason.
Let’s go!
And once again we come back to development of webinar hosting systems. Online workshops, web-conferences, online meetups, presentations and web guides — all that, in one form or another, is related to webinars.
Imagine: your customer is hosting a webinar that involves a slide presentation. There might be a need for them to manually draw something over the slides or make notes over them. As a developer, you need to provide the customer with a tool that can do that. This is where you can resort to Canvas streaming.
In this article we will take a look at what Canvas streaming is and the the pitfalls of working with it.
The minimal examples on our website are written so that any client, even those far from web programming, can take pieces of code and make their own product. But thoughtlessly copying code can lead to financial losses. A striking example is the minimal code for embedding a Click to Call button.
With the news outlets predicting the second wave of the pandemic, our tech support is being flooded with requests to develop systems for webinar hosting. A webinar almost always involves sharing the host’s desctop screen, and developers are often faced with questions on how to realize it. Questions on selection of servers and virtual instances are just as frequent. Not to mention, the most important question of them all – how to protect the streaming data from unauthorized access.
We compiled all the answers into a single article, and here it is.
We had 300 subscribers, three Edge servers, one Origin server, a whole galaxy of multicolored browsers and a stream with a 480р resolution. Also, a task to develop a system for webinar hosting. And we needed to do all that, because once you get locked into streaming via WebRTC with low latency, the tendency is to push it as far as you can. The only question remaining concerned the selection of the cloud platform for server hosting. For there is no one more dejected, upset and angry than viewers watching a steam riddled with artifacts and freezes.
For viewers to be satisfied, video broadcasts should have the lowest possible latency. Therefore, your task as a developer of any product related to video broadcasts — be it a webinar system, online training or online auction — is to ensure low latency. In case of using CDNs, low latency is ensured by using WebRTC to transfer a video stream from Origin to Edge, which, in turn, allows connecting a large number of viewers. But, if you constantly keep on a certain number of servers in the expectation of a large influx of viewers, then the money for renting servers will be wasted while there is no influx. The best option would be to launch additional Edge when the flow of viewers increases and turn them off when it decreases.
In our blog, we have mentioned the practical application of CDN many times already. This includes broadcasts of auctions, horse races and sports events. As well as broadcasts of webinars, master classes and online lessons.
Indeed, the need for low-latency WebRTC video broadcasts is already well established in our lives. We propose to consider another option for deploying CDN with Elastic Load Balancing and auto scaling in the Amazon Web Services (AWS) environment.