WebRTC video conferencing testing
Testing a three-party video conference in Google Chrome
Use these instructions for quick installation and configuration of the server. In addition to that, you can connect to our demo server demo.flashphoner.com to perform the tests
Test plan
- Connect to WCS server
- Create chat room
- Connect two participants via an invite link to the chat room
- Make sure that all the chat participants broadcast video streams
Testing video conferencing for three participants in Google Chrome
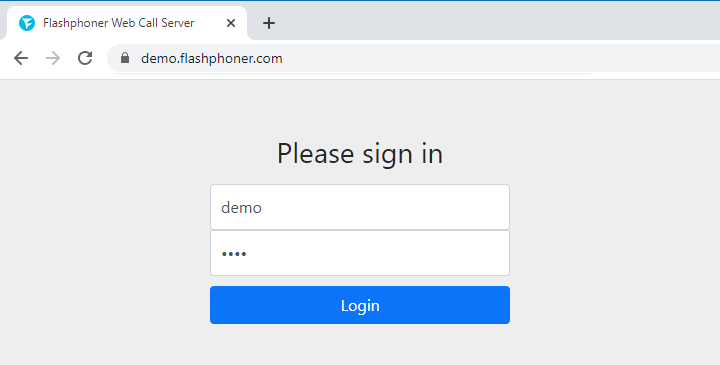
1. Log in to the server web-interface demo.flashphoner.com
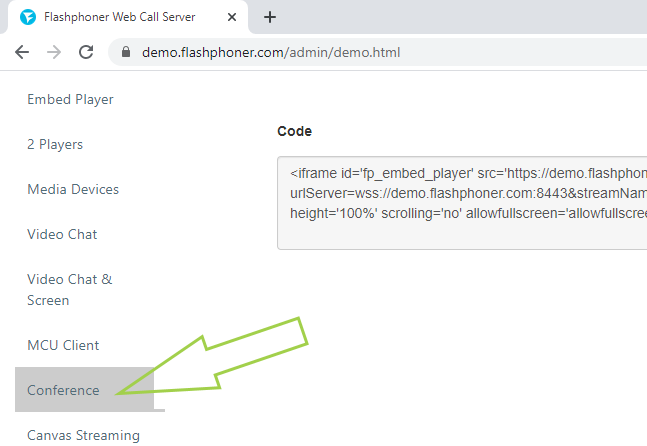
2. Select “Conference” from the menu on the left side of the page
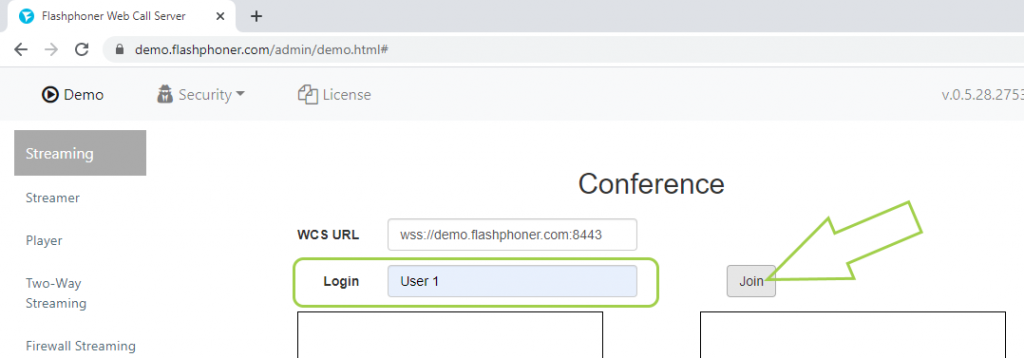
3. On the page that opens, in the “Login” field, specify a name for the first participant, for example, User 1, and click the “Join” button
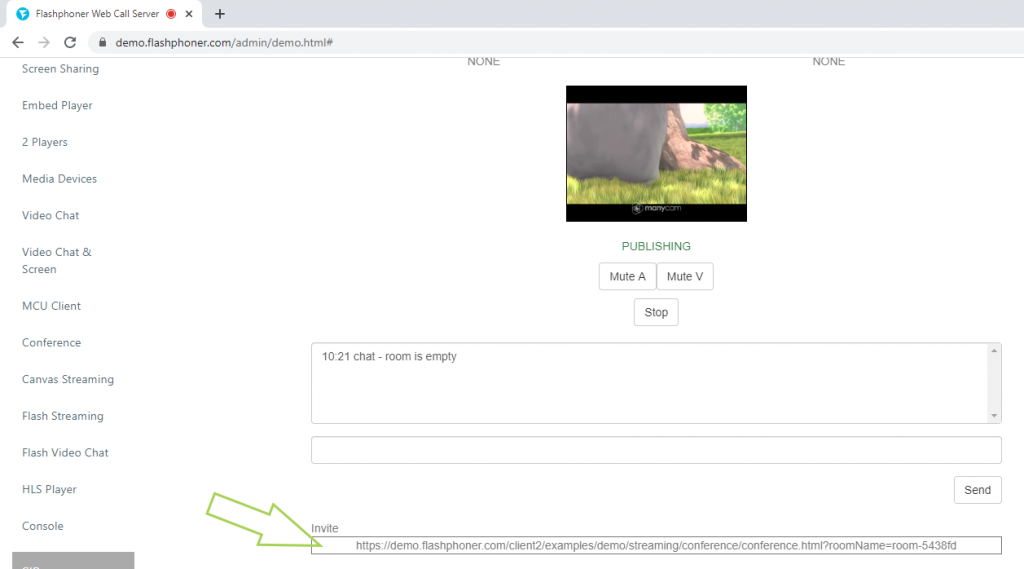
4. Copy the link from the “Invite” field at the bottom of the page
5. Open a new Google Chrome browser window or another browser. Follow the copied link, enter the name for the second participant (User 2) in the “Login” field and click the “Join” button. Repeat these steps for the third party (User 3)

6. Done! Users share video streams. In our example, testing is carried out on one computer using a virtual camera that plays the video, so the picture is the same for all users
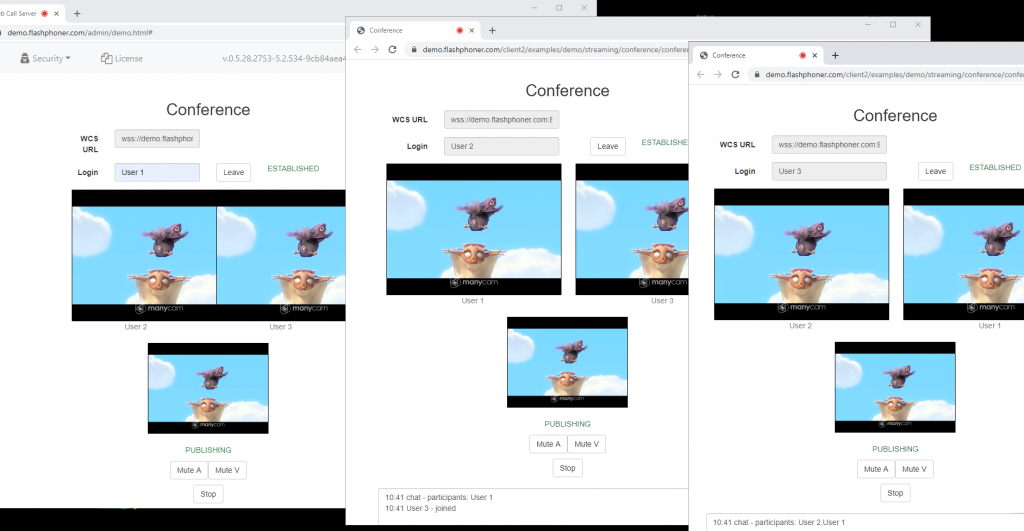
We successfully tested the conference for three participants in the Google Chrome browser. Similarly, the conference works in other browsers and mobile applications for Android and iOS.
More detailed information on the embedding of the conference in your web project can be found on the Embedding page.
Download Web Call Server 5
System requirements: Linux x86_64, 1 core CPU, 2 Gb RAM, Java
Installation:
- wget https://flashphoner.com/download-wcs5.2-server.tar.gz
- Unpack and install using 'install.sh'
- Launch server using command 'service webcallserver start'
- Open the web interface https://host:8444 and activate your license
If you are using Amazon EC2, you don't need to download anything.

