Video Recording Testing
Recording from browsers works on WebRTC and Flash technologies
Use these instructions for quick installation and configuration of the server. In addition to that, you can connect to our demo server demo.flashphoner.com to perform the tests. Additionally, VLC media player will be used for the testing. You can use any convenient player that supports playback of .mp4 files
Test plan
- Start publishing video stream with recording
- Download the recorded file and make sure that it plays correctly
Test recording in Google Chrome browser
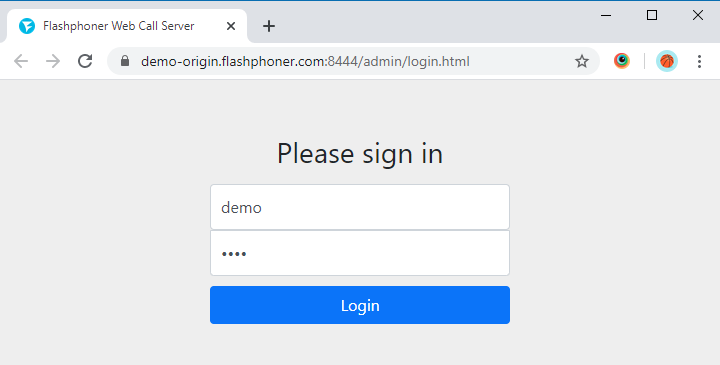
1. Log in to the server web-interface demo.flashphoner.com
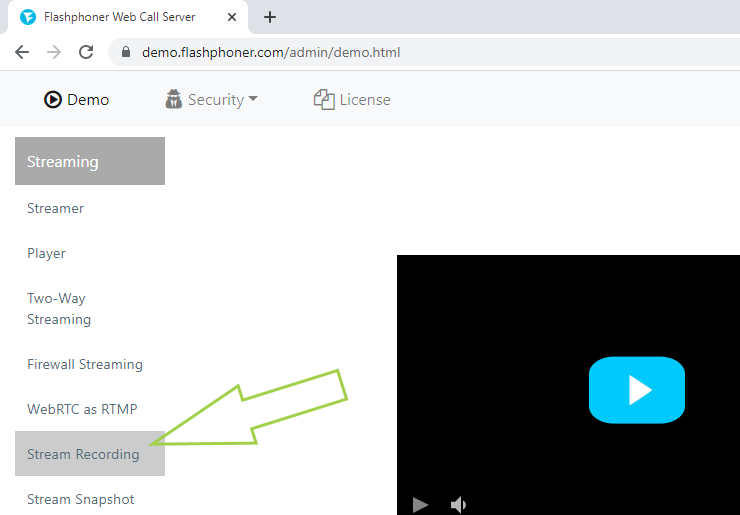
2. Select “Stream Recording” from the menu on the left side of the page
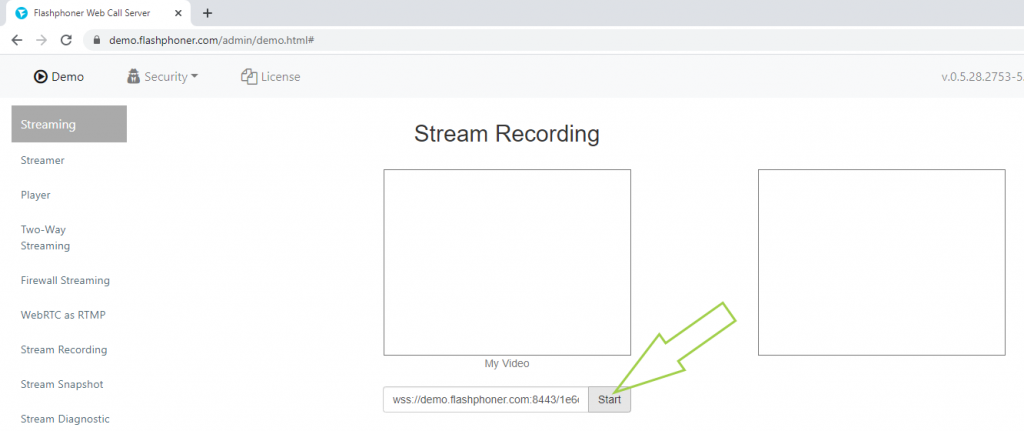
3. On the page that opens, click the “Start” button. Publishing and recording of the stream from your camera will be started. For testing, we use a virtual camera that broadcasts video
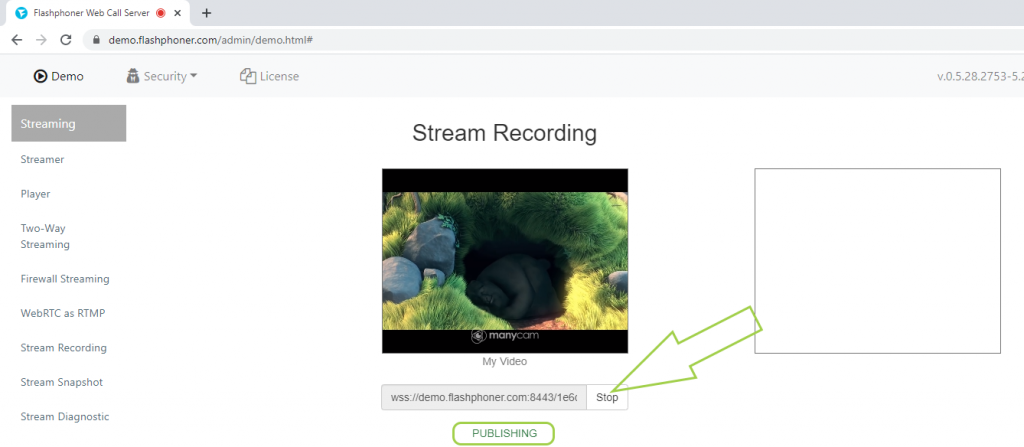
4. The web page displays the current status of the stream on the WCS server. Click the “Stop” button to complete the stream recording.
5. After clicking the “Stop” button, you can view the recording in the neighboring player. Also, there is a link for downloading the file with a recording, which can then be viewed in a third-party player.
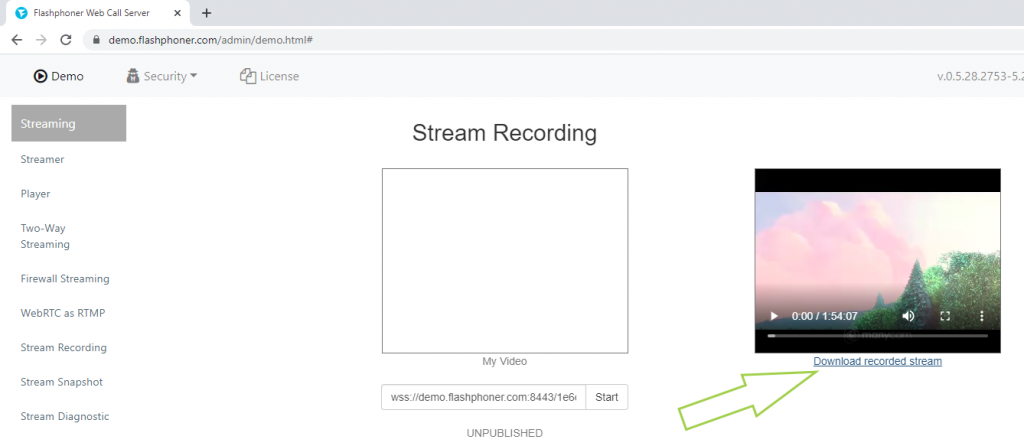
6. Download the file and make sure that the stream is recorded correctly. In this test we use VLC media player
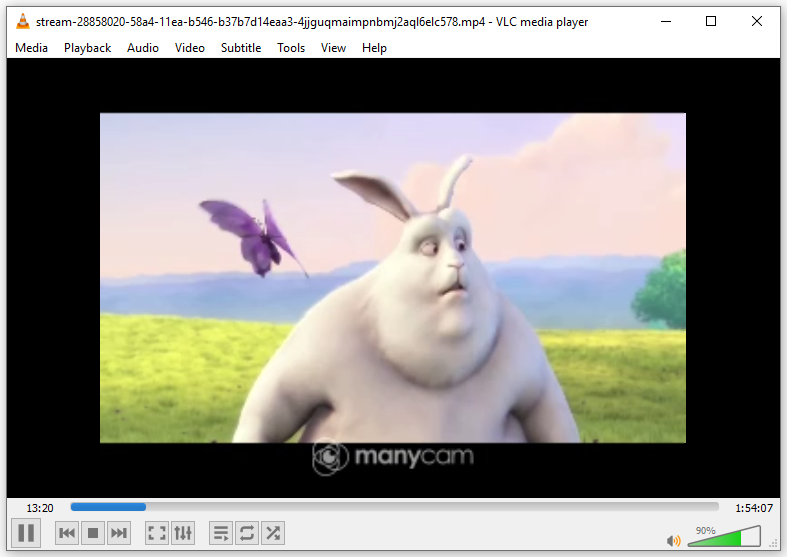
This test will work in WebRTC-browsers such as Google Chrome, Opera and Firefox on desktops and mobile devices that support WebRTC technology, as well as in IE, Edge and Safari browsers, if they support Flash.
For more information on embedding code of a recording script in a web page, see the Embedding page.
Download Web Call Server 5
System requirements: Linux x86_64, 1 core CPU, 2 Gb RAM, Java
Installation:
- wget https://flashphoner.com/download-wcs5.2-server.tar.gz
- Unpack and install using 'install.sh'
- Launch server using command 'service webcallserver start'
- Open the web interface https://host:8444 and activate your license
If you are using Amazon EC2, you don't need to download anything.

