
Embedding a broadcasting from RTMP Live Encoder
to an HTML page
The page contains an HTML code that links to several JavaScript files and other dependencies. As a result, the RTMP Live Encoder broadcasts video from the web camera and displays the video on the page using HTML5 and Flash technologies.
Preparing to embedding the broadcast from a Live RTMP Encoder
To perform broadcasting from and RTMP encoder you need to prepare Web Call Server and all necessary scripts and files.
- Install Web Call Server to your hosting and import SSL-certificates to work with the WebRTC technology.
If you experience difficulties while installing the server, you can run the already configured turnkey virtual Web Call Server in the Amazon cloud and import an SSL certificate.
Besides you can connect to our demo servers
wss://wcs5-eu.flashphoner.com:8443
wss://wcs5-us.flashphoner.com:8443 -
Download the latest build with HTML and JavaScript code
-
Unpack the build on your web server and open the following files
examples/min/streaming/Streaming-min.html see on Github
examples/min/streaming/Streaming-min.js see on Github
These files do not require any changes and are simple the required code minimum that allows RTMP broadcasting of video from a Live Encoder and playing it on Chrome, IE and other browsers that support WebRTC or Flash. Let’s take a look at these files.
HTML and JavaScript code to embed to the page broadcasting from a Live RTMP Encoder
Here are main elements of Streaming-min.html and Streaming-min.js scripts that are used for broadcasting.
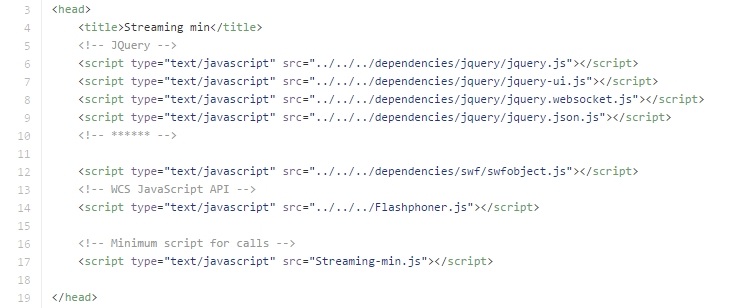
Streaming-min.html
All required dependencies are in the head HTML element.
Next are the video wrappers – elements that display the video captured from the webcam and also the video received for playback.

The localVideo here is a video from the webcam, while the remoteVideo is a wrapper for playing the video stream using the WebRTC technology. And the flashVideoDiv is a block where the Flash(swf) object is inserted to. This is required to play using the Flash technology.
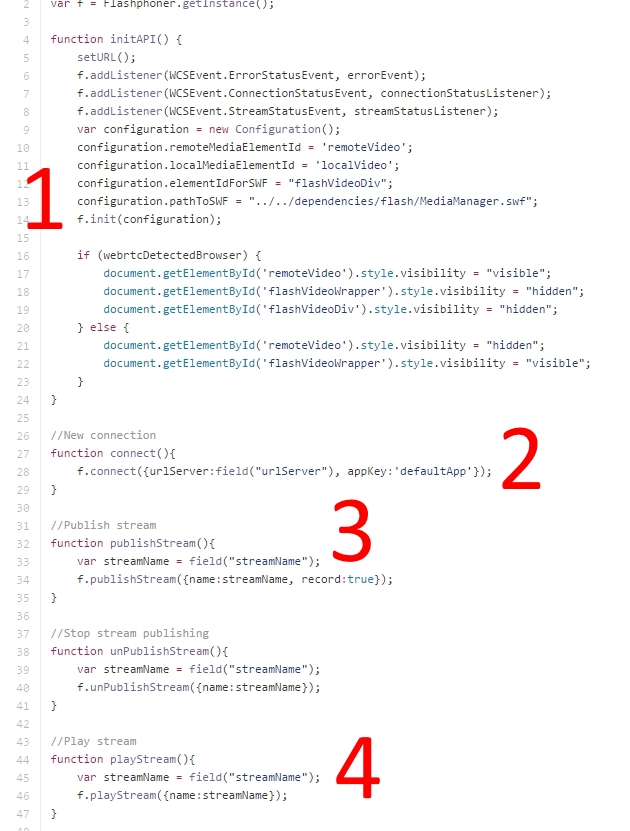
Streaming-min.js
The main functions of the scripts are initialization, establishing connection, publishing the stream from the web camera and playing.
During initialization we specify HTML elements to receive video and add WCS status listeners.
To establish connection we need the address of a WCS server, for example wss://wcs5-eu.flashphoner.com:8443
To publish and play the stream, we only need to know and assign the name of the stream.
Streaming-min files work correctly and use very simple minimalistic code. However, they do not display any statuses of their work, such as stream names, states of buttons and so on. To control operation of these examples, we recommend using Developer Tools / Console – a developer tool built into Google Chrome.
A bit more complex examples that display statuses of streams and switch states of the buttons can be found in the following files: examples/demo/streaming. These files are used on demo pages in the Testing section.
Adding a Websocket player for the iOS Safari browser
The Safari browser on iOS-powered iPhone and iPad does not support the WebRTC technology and therefore cannot use Streaming-min scripts.
For iOS Safari we have special player scripts that use the Websockets technology:
examples/min/vow-player-min
examples/min/vow-player-min/vow-player-min.js
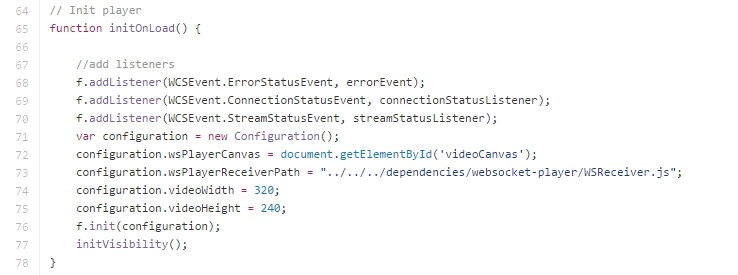
These scripts have similar initialization, establishing of connection and playing of the stream.
Nevertheless, there are two distinct features especially important for mobile browsers:
- To play any sound on the smartphone speaker, the user should click any button or a link on the HTML page. That is, they should tap the screen once. In our example the Play button is for that.

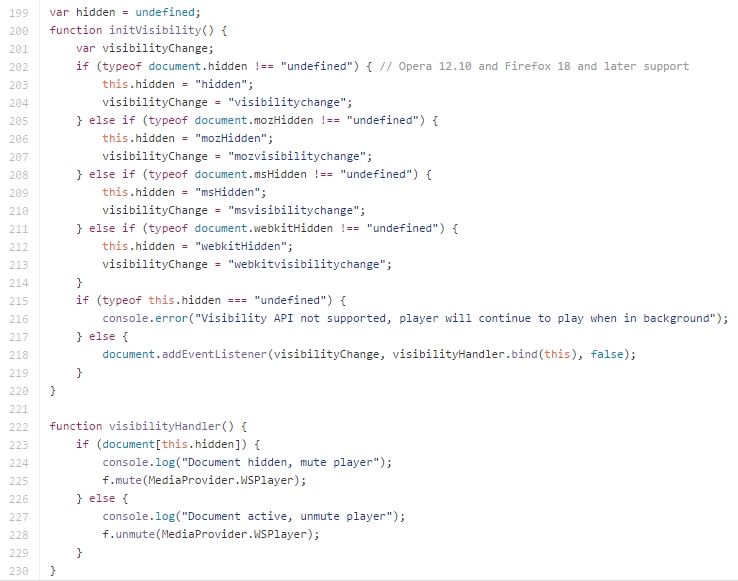
- When the user switches between mobile applications on iPhone or iPad, the playback should pause (the mute function). We use the special callback function for this called visibilityHandler.
- We include one more dependence script WSReceiver during initialization to maintain the streaming video using the Websocket protocol. It is required that the script is available at the specified path.
So, these are the scripts required to broadcast videos from the web camera in a browser. You can use these scripts as a basis for your own user interface. To test functioning of demo scripts, please see the Testing section.
This page is out of date
Please visit the actual page describing integration of an HTML5 player for RTMP live-encoder playback into your HTML-code
Download Web Call Server 5
System requirements: Linux x86_64, 1 core CPU, 2 Gb RAM, Java
Installation:
- wget https://flashphoner.com/download-wcs5.2-server.tar.gz
- Unpack and install using 'install.sh'
- Launch server using command 'service webcallserver start'
- Open the web interface https://host:8444 and activate your license
If you are using Amazon EC2, you don't need to download anything.