Testing the camera, microphone and
stream parameters control
Let’s test the camera, microphone and stream parameters control
upon publishing via browser
For quick server setup and configuration, use this guide. You can also connect to our demo-server demo.flashphoner.com. In this example, we use a virtual camera that is playing the video.
A step-by-step testing plan
- Connect to a WCS server.
- Start the stream publishing in Google Chrome having selected the camera, microphone, stream resolution and FPS.
- Commence playback having set the stream playback parameters.
Publishing and playback of WebRTC video streams from Google Chrome with camera, microphone and stream parameters selection
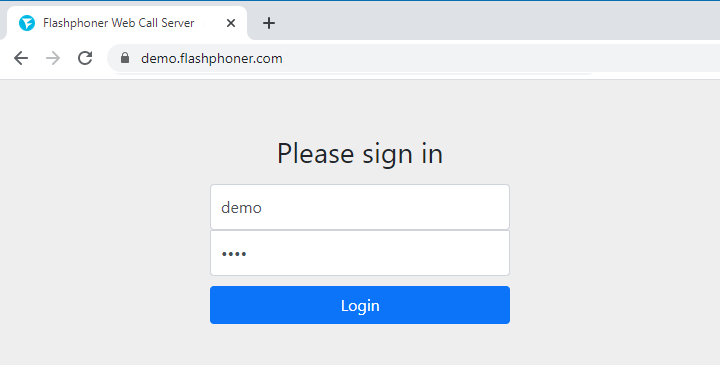
1. Log into the web interface of the server: demo.flashphoner.com
2. Go to Media Devices in the menu on the left

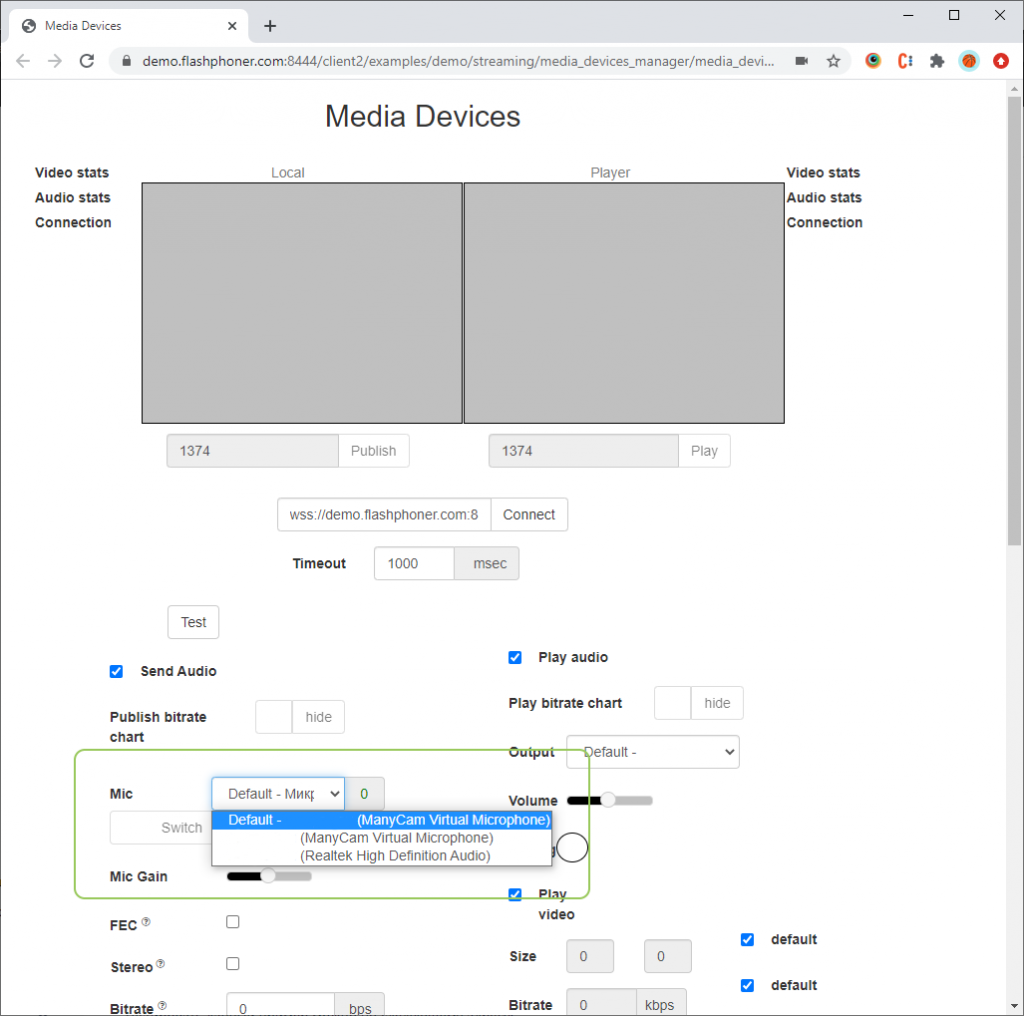
3. Select the required microphone form the drop-down list
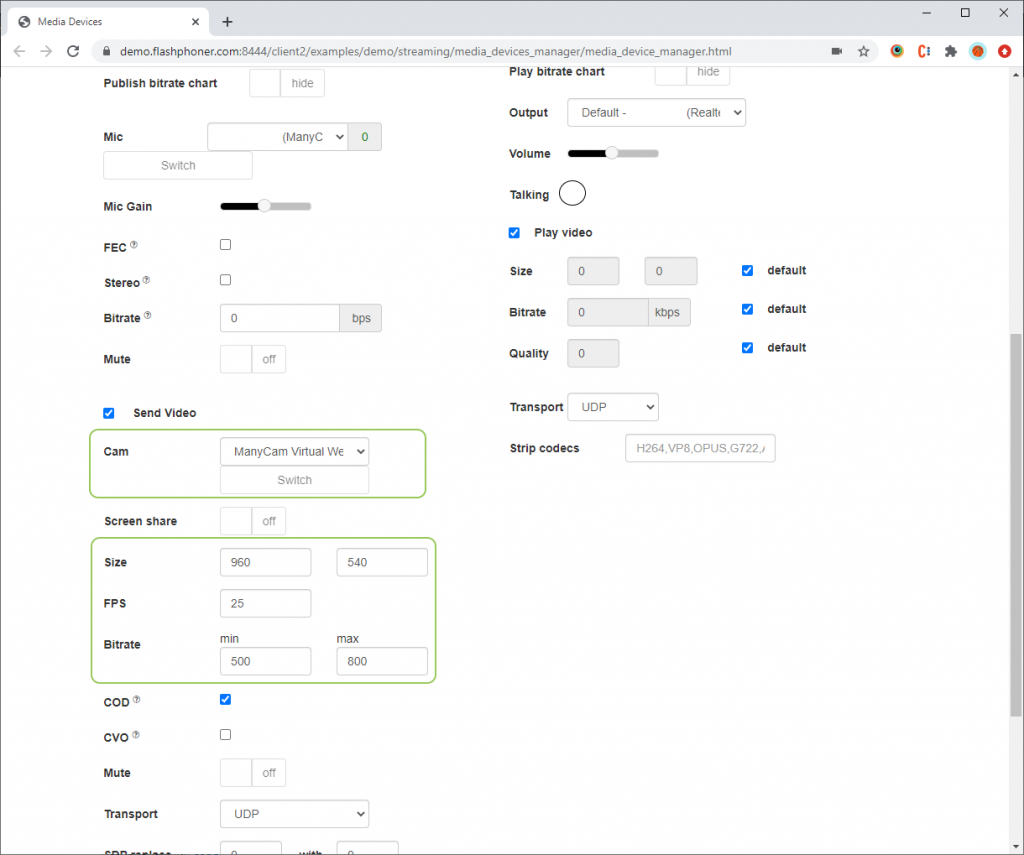
4. Lower on the page, select the required camera, set the stream resolution and FPS. Set the minimum and maximum bitrate (kbps).
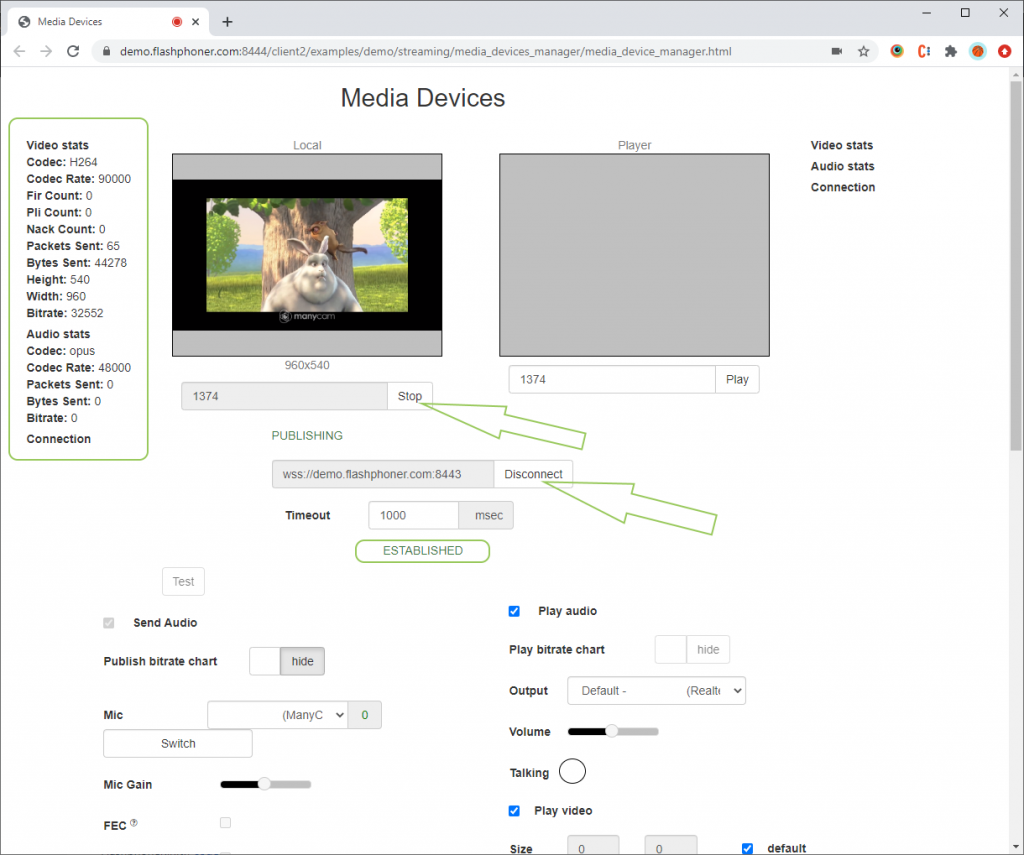
5. Go back to the top and connect to WCS via WebSocket (click Connect) and, once the status displayed becomes Established, click Publish to publish the stream with the set parameters. Once the publishing has begun, to the left of the preview you’ll see the statistics for the audio and video streams that are being published
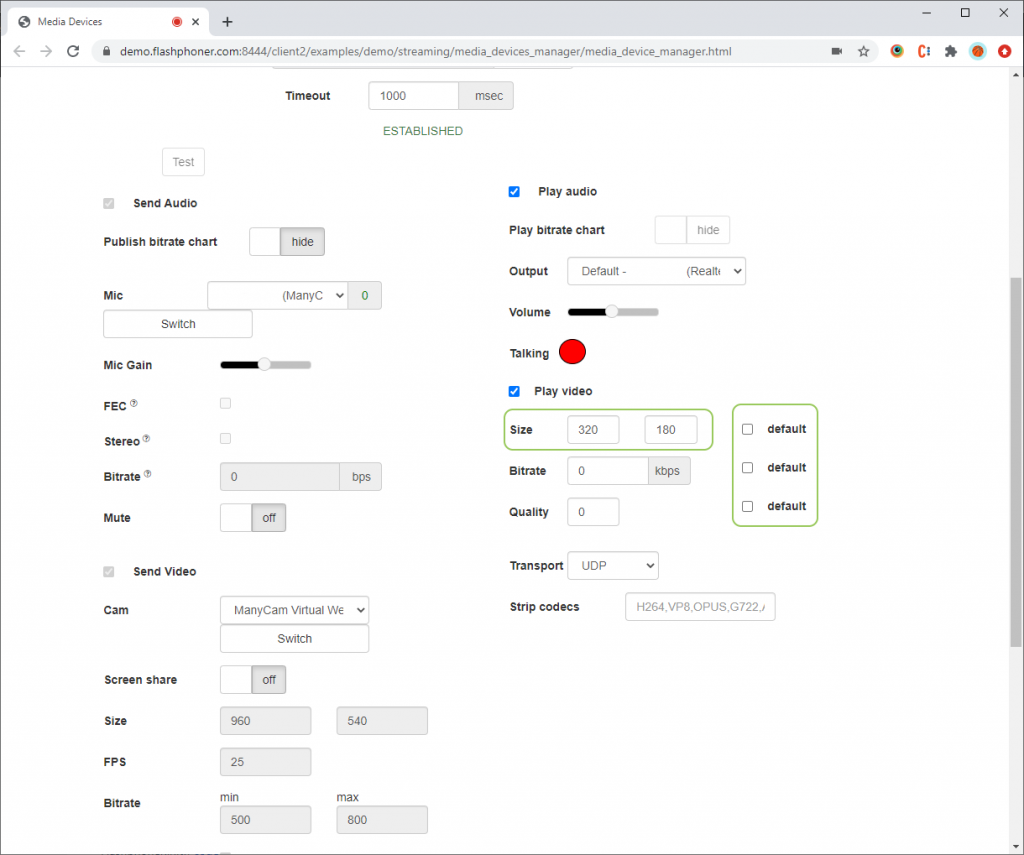
6. Lower on the page, in the right settings column, you can set the settings for playback. To do that, uncheck the default boxes and set the desired parameters , such as video resolution.
7. Go back to the top and click Play under the Player element. The video will be played with the requested parameters. To the right of the player you’ll see the statistics for the audio and video streams that are being published.
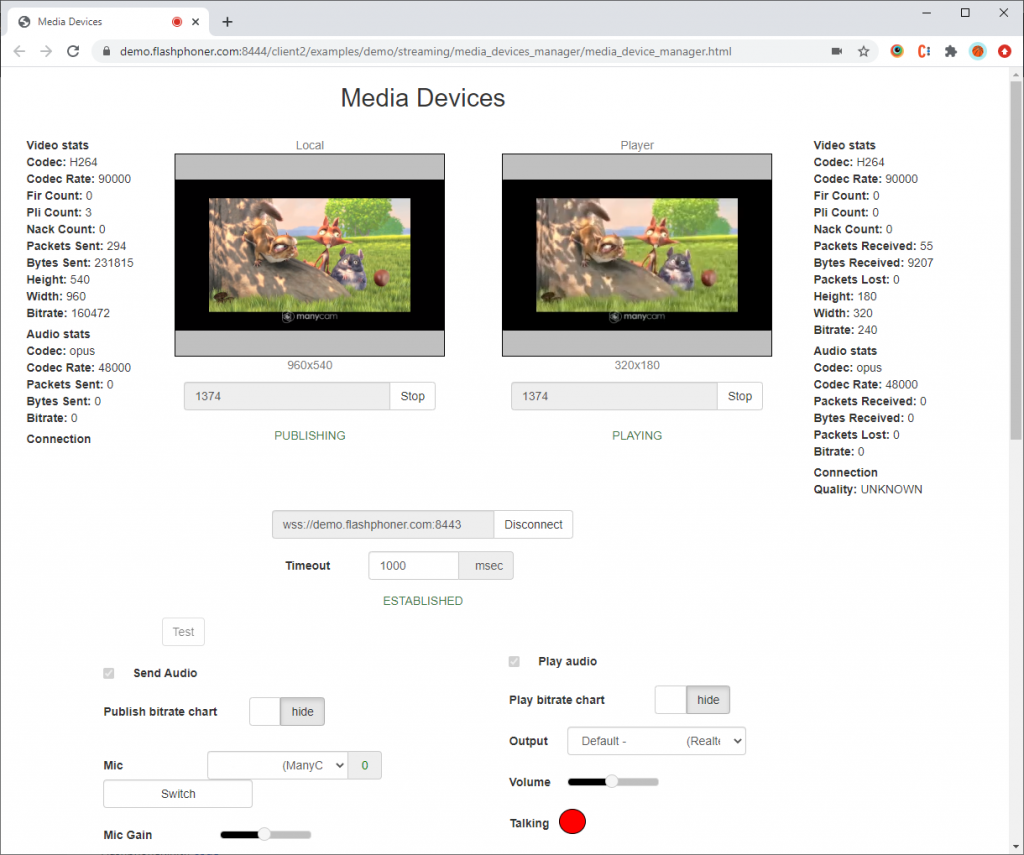
Thus we have tested the publishing and playback feature for WebRTC video streams via the Chrome browser with camera, microphone and stream parameters selection.
In order to embed the publishing and playback with camera, microphone and stream parameters selection into your web project, see Embedding
Download Web Call Server 5
System requirements: Linux x86_64, 1 core CPU, 2 Gb RAM, Java
Installation:
- wget https://flashphoner.com/download-wcs5.2-server.tar.gz
- Unpack and install using 'install.sh'
- Launch server using command 'service webcallserver start'
- Open the web interface https://host:8444 and activate your license
If you are using Amazon EC2, you don't need to download anything.

