Embedding video playback in a browser using MSE
What scripts are required to embed the playback of the video stream in the browser according to MSE and what dependencies should be taken into account when embedding
Use these instructions for quick installation and configuration of the server. In addition to that, you can connect to our demo server demo.flashphoner.com to perform the tests.
Step-by-step instructions for embedding MSE player on your web page
To embed the player in our web page, let’s create two empty files: mse-player-min.html and mse-player-min.js. These files will contain the minimal code for our player’s operation.
Let’s study the contents of the files
HTML
Place the necessary elements in mse-player-min.html:
1. Import the script of the main API
<script type="text/javascript" src="https://flashphoner.com/downloads/builds/flashphoner_client/wcs_api-2.0/current/flashphoner.js"></script>
2. Import the script of the player
<script type="text/javascript" src="mse-player-min.js"></script>
3. Initialize the API on page load
<body onload="init_api()">
4. Add the div element that the video for the player will be added to
<div id="myVideo" style="width:320px;height:240px;border: solid 1px"></div>
5. Add the “Play” button, clicking which will initialize connection to the server and start playing the video
<input type="button" onclick="connect()" value="PLAY"/>

The full code of the HTML page looks as follows:
<!DOCTYPE html>
<html lang="en">
<head>
    <script type="text/javascript" src="https://flashphoner.com/downloads/builds/flashphoner_client/wcs_api-2.0/current/flashphoner.js"></script>
    <script type="text/javascript" src="mse-player-min"></script>
</head>

<body onload="init_api()">
<div id="myVideo" style="width:320px;height:240px;border: solid 1px"></div>
<br/><input type="button" onclick="connect()" value="PLAY"/>
</body>
</html>
JavaScript
1. Create the constants for the player operation status
var SESSION_STATUS = Flashphoner.constants.SESSION_STATUS;
var STREAM_STATUS = Flashphoner.constants.STREAM_STATUS;
2. Create the variable for the WebSocket session
var session;
3. Initialize API when the HTML page is loaded. Here we write the type of media provider – “MSE”
Flashphoner.init({
    preferredMediaProvider: "MSE"
    });
4. The function “connect()” creates a WebSocket session on WCS. In this example, we are using our demo server. To test your own server, replace “wss://demo.flashphoner.com” with your WCS address
function connect() {
    Flashphoner.createSession({
        urlServer: "wss://demo.flashphoner.com"
    }).on(SESSION_STATUS.ESTABLISHED, function(session) {
        playStream(session);
    })
}
5. Next, create a session.createStream() stream and pass the name of the stream “stream1” and the HTML element “myVideo” as parameters
function playStream(session) {
    var options = {
        name: "stream1",
        display: document.getElementById("myVideo"),
    };
    stream = session.createStream(options).on(STREAM_STATUS.PENDING, function(stream) {})
    stream.play();
}
The full JavaScript code looks as follows:
var SESSION_STATUS = Flashphoner.constants.SESSION_STATUS;
var STREAM_STATUS = Flashphoner.constants.STREAM_STATUS;
var session;

function init_api() {
    Flashphoner.init({
        preferredMediaProvider: "MSE"
    });
}

function connect() {
    Flashphoner.createSession({
        urlServer: "wss://demo.flashphoner.com"
    }).on(SESSION_STATUS.ESTABLISHED, function(session) {
        playStream(session);
    })
}

function playStream(session) {
    var options = {
        name: "stream1",
        display: document.getElementById("myVideo"),
    };
    stream = session.createStream(options).on(STREAM_STATUS.PENDING, function(stream) {})
    stream.play();
}
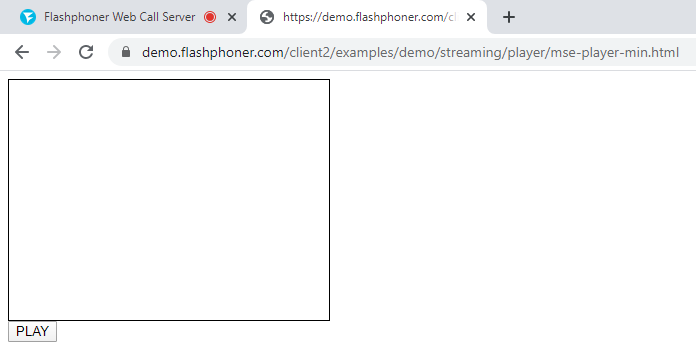
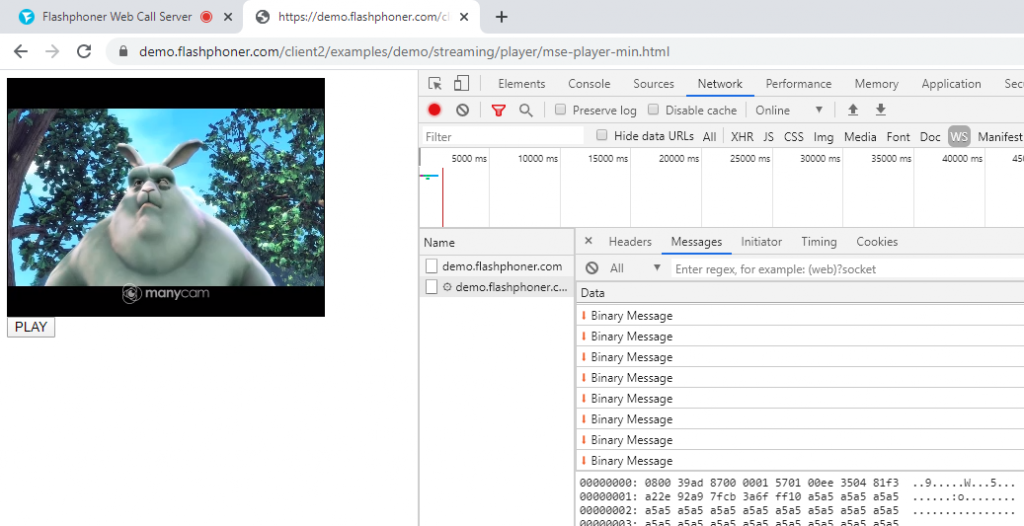
As a result, we get the minimal player, which is a div block with a frame and is able to play the stream in browser via MSE technology

Download Web Call Server 5
System requirements: Linux x86_64, 1 core CPU, 2 Gb RAM, Java
Installation:
- wget https://flashphoner.com/download-wcs5.2-server.tar.gz
- Unpack and install using 'install.sh'
- Launch server using command 'service webcallserver start'
- Open the web interface https://host:8444 and activate your license
If you are using Amazon EC2, you don't need to download anything.

