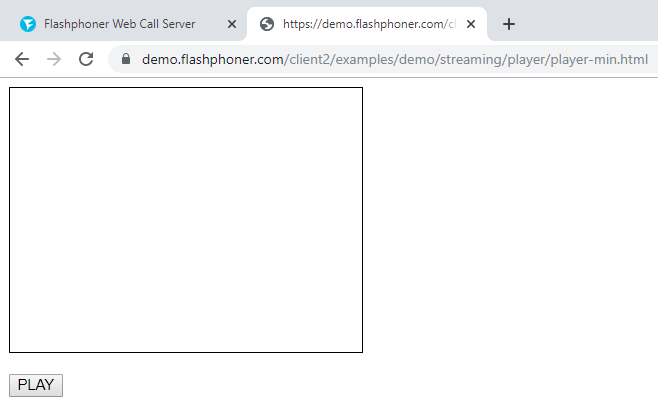
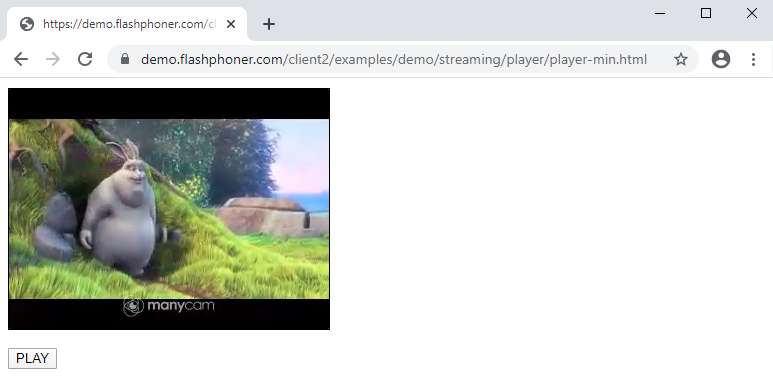
Embedding capture VOD from file to html page
What scripts are required to embed VOD capture from a file and what dependencies should be considered when implementing
Use these instructions for quick installation and configuration of the server. In addition to that, you can connect to our demo server demo.flashphoner.com via the Websockets protocol to perform the tests.
The page contains an HTML code that links to several JavaScript files and other dependencies. As a result, WCS will capture the video stream from the .mp4 file and broadcast it via WebRTC, and the web page will be able to play the video on the page using HTML5.
Step-by-step instructions for embedding a VOD player on your web page
To embed a player in our web page, let’s create two empty files: player-min.html and player-min.js. These files will contain the minimal code for our player’s operation.
Let’s study the contents of the files
HTML
Place the necessary elements in player-min.html:
1. Import the script of the main API:
<script type="text/javascript" src="https://flashphoner.com/downloads/builds/flashphoner_client/wcs_api-2.0/current/flashphoner.js"></script>
2. Import the script of the player:
<script type="text/javascript" src="player-min.js"></script>
3. Add styles to properly display video in div elements:
<style>
        .fp-Video {
            border: 1px double black;
            width: 322px;
            height: 242px;
        }
        .display {
            width: 100%;
            height: 100%;
            display: inline-block;
        }
        .display > video,
        object {
            width: 100%;
            height: 100%;
        }
</style>
4. Initialize the API on page load:
<body onload="init_api()">
5. Add the div element that the video for the player will be added to:
   <div class="fp-Video">
      <div id="play" class="display"></div>
   </div>
6. Add the “Play” button, clicking which will initialize connection to the server and start playing the video:
<button id="playBtn">PLAY</button>

The full code of the HTML page looks as follows (file «player-min.html»):
<!DOCTYPE html>
<html lang="en">
    <head>
        <script type="text/javascript" src="https://flashphoner.com/downloads/builds/flashphoner_client/wcs_api-2.0/current/flashphoner.js"></script>
        <script type="text/javascript" src="player-min.js"></script>
    </head>
    <style>
        .fp-Video {
            border: 1px double black;
            width: 322px;
            height: 242px;
        }
        .display {
            width: 100%;
            height: 100%;
            display: inline-block;
        }
        .display > video,
        object {
            width: 100%;
            height: 100%;
        }
    </style>
    <body onload="init_api()">
        <div class="fp-Video">
            <div id="play" class="display"></div>
        </div>
        <br />
        <button id="playBtn">PLAY</button>
    </body>
</html>
JavaScript
1. We create constants and variables for the server operation status and WebSocket session. To work with the iOS Safari browser, we need a preloader, which can be downloaded from GitHub:
var SESSION_STATUS = Flashphoner.constants.SESSION_STATUS;
var STREAM_STATUS = Flashphoner.constants.STREAM_STATUS;
var session;
var PRELOADER_URL = "https://github.com/flashphoner/flashphoner_client/raw/wcs_api-2.0/examples/demo/dependencies/media/preloader.mp4";
2. We initialize the API when loading the HTML page and connect to the WCS server via WebSocket. In this example, we are using our demo server. To test your own server, replace “wss://demo.flashphoner.com” with your WCS address:
function init_api() {
    Flashphoner.init({});
    //Connect to WCS server over websockets
    session = Flashphoner.createSession({
        urlServer: "wss://demo.flashphoner.com" //specify the address of your WCS
    }).on(SESSION_STATUS.ESTABLISHED, function(session) {
        console.log("ESTABLISHED");
    });

    playBtn.onclick = playClick;
}
3. We detect the browser, and if the browser is Safari, we launch the preloader. Playback should start strictly upon a user’s gesture (i.e. button click). This is limitation of mobile Safari browsers. More:
var Browser = {
    isSafari: function() {
        return /^((?!chrome|android).)*safari/i.test(navigator.userAgent);
    },
}

function playClick() {
    if (Browser.isSafari()) {
        Flashphoner.playFirstVideo(document.getElementById("play"), true, PRELOADER_URL).then(function() {
            playStream();
        });
    } else {
        playStream();
    }
}
4. Next, create a session.createStream() stream and pass the name of the stream «vod://sample.mp4» and the HTML element «play» as parameters:
function playStream() {
    var options = {
        name: "vod://sample.mp4",
        display: document.getElementById("play")
    };
    var stream = session.createStream(options).on(STREAM_STATUS.PLAYING, function(stream) {
        console.log("playing");
    });
    stream.play();
}
The full JavaScript code looks as follows (file «player-min.js»):
var SESSION_STATUS = Flashphoner.constants.SESSION_STATUS;
var STREAM_STATUS = Flashphoner.constants.STREAM_STATUS;
var session;
var PRELOADER_URL = "https://github.com/flashphoner/flashphoner_client/raw/wcs_api-2.0/examples/demo/dependencies/media/preloader.mp4";

function init_api() {
    Flashphoner.init({});
    //Connect to WCS server over websockets
    session = Flashphoner.createSession({
        urlServer: "wss://demo.flashphoner.com" //specify the address of your WCS
    }).on(SESSION_STATUS.ESTABLISHED, function(session) {
        console.log("ESTABLISHED");
    });

    playBtn.onclick = playClick;
}

var Browser = {
    isSafari: function() {
        return /^((?!chrome|android).)*safari/i.test(navigator.userAgent);
    },
}

function playClick() {
    if (Browser.isSafari()) {
        Flashphoner.playFirstVideo(document.getElementById("play"), true, PRELOADER_URL).then(function() {
            playStream();
        });
    } else {
        playStream();
    }
}

function playStream() {
    var options = {
        name: "vod://sample.mp4",
        display: document.getElementById("play")
    };
    var stream = session.createStream(options).on(STREAM_STATUS.PLAYING, function(stream) {
        console.log("playing");
    });
    stream.play();
}

As a result, we get a player that can play VOD via WebRTC.
Download minimal examples
1. Download archive. 2. Unpack the example files to your Web server. Default directory for Apache: for Nginx: or see the documentation for your web server. 3. Run the minimal example in a browser using a link like Warning! The web page must be opened via https to get examples working./var/www/html
/usr/local/nginx/html
https://your.web.server/min-example-file-name.html
Download Web Call Server 5
System requirements: Linux x86_64, 1 core CPU, 2 Gb RAM, Java
Installation:
- wget https://flashphoner.com/download-wcs5.2-server.tar.gz
- Unpack and install using 'install.sh'
- Launch server using command 'service webcallserver start'
- Open the web interface https://host:8444 and activate your license
If you are using Amazon EC2, you don't need to download anything.

