Testing an online call from the site using the Click to Call function
Test a call to a SIP softphone from the Google Chrome web browser
Use these instructions for quick installation and configuration of the server. Also for the testing, you will need credentials to connect to a SIP server and a software SIP phone.
Test plan
- Connect to the SIP server
- Connect to the web-based interface of the WCS server
- Make a test audio call using the “Click to Call” button, receive it on the SIP softphone and make sure that the audio is being exchanged
Testing a call from Google Chrome through a SIP gateway
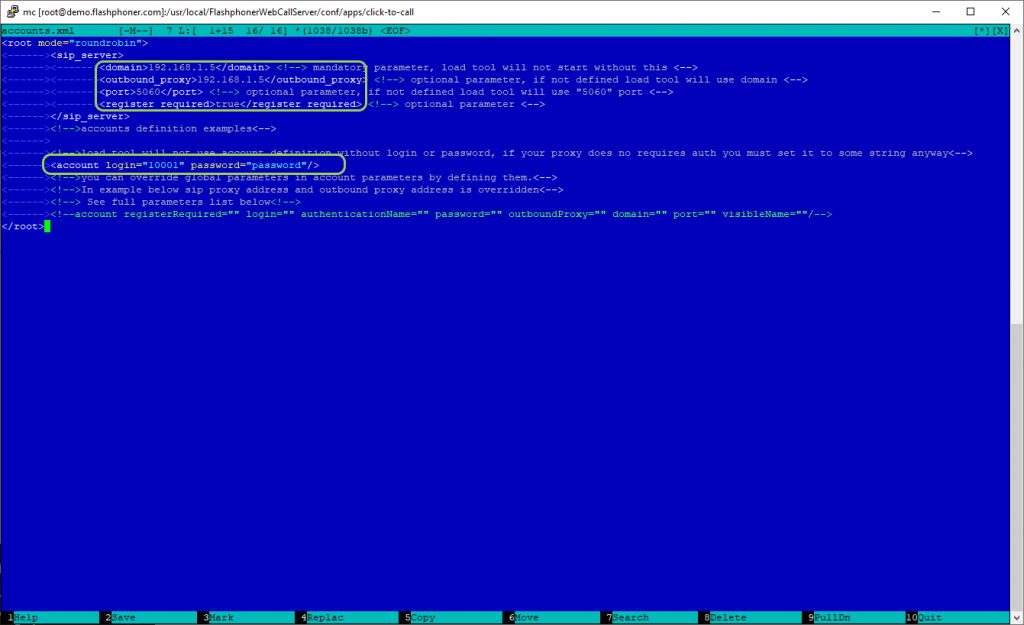
1. Connect in console to your WCS server. Open the file for editing
/usr/local/FlashphonerWebCallServer/conf/apps/click-to-call/accounts.xml
and enter the data to connect to your SIP server
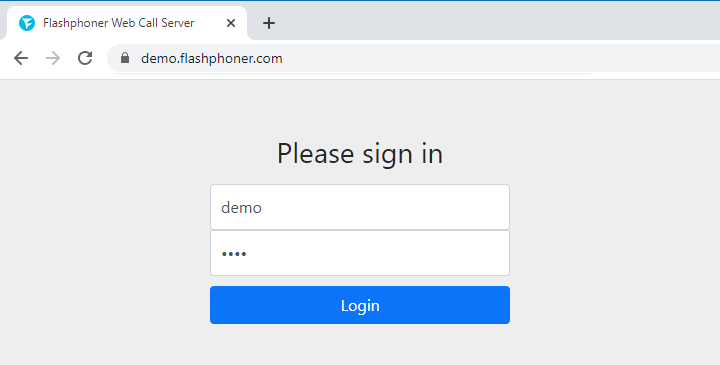
2. Log in to the web-interface of your WCS server (in our example, demo.flashphoner.com)
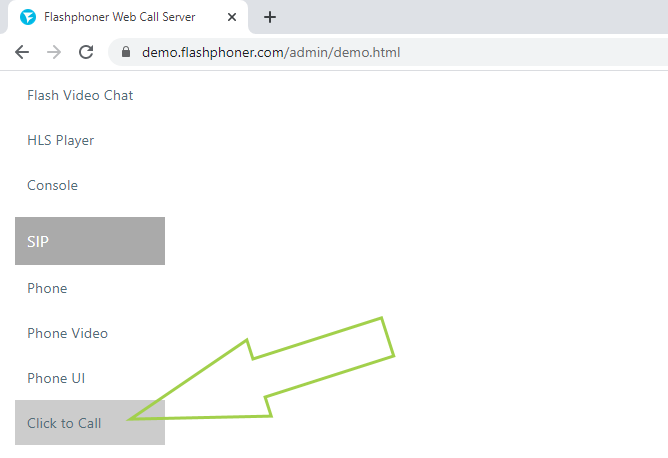
3. Select “Click to Call” from the menu on the left side of the page
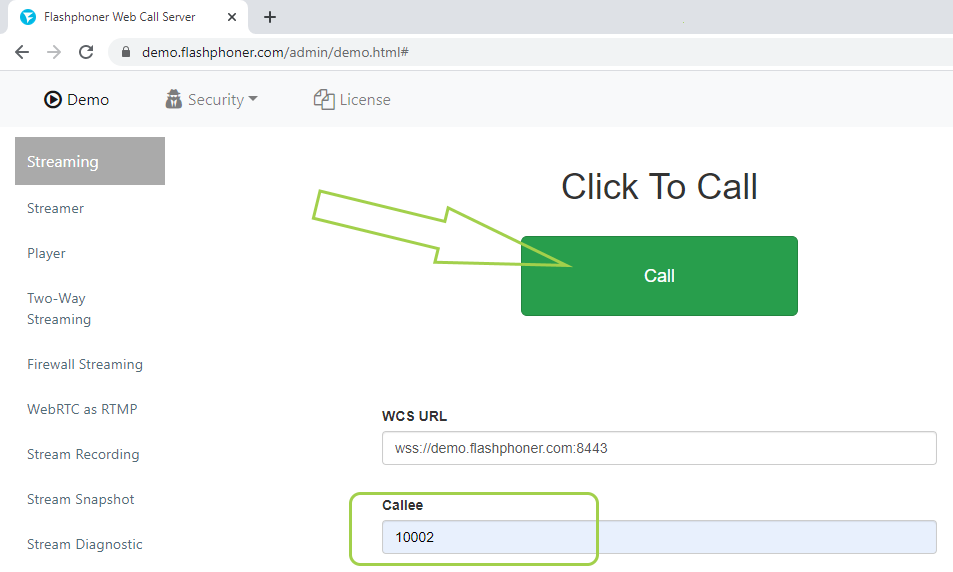
4. On the next page, enter the local phone number in the field “Callee” and click the “Call” button
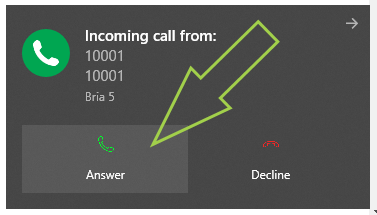
5. Accept the incoming call on the SIP softphone and make sure that there is an exchange of audio streams between the subscribers
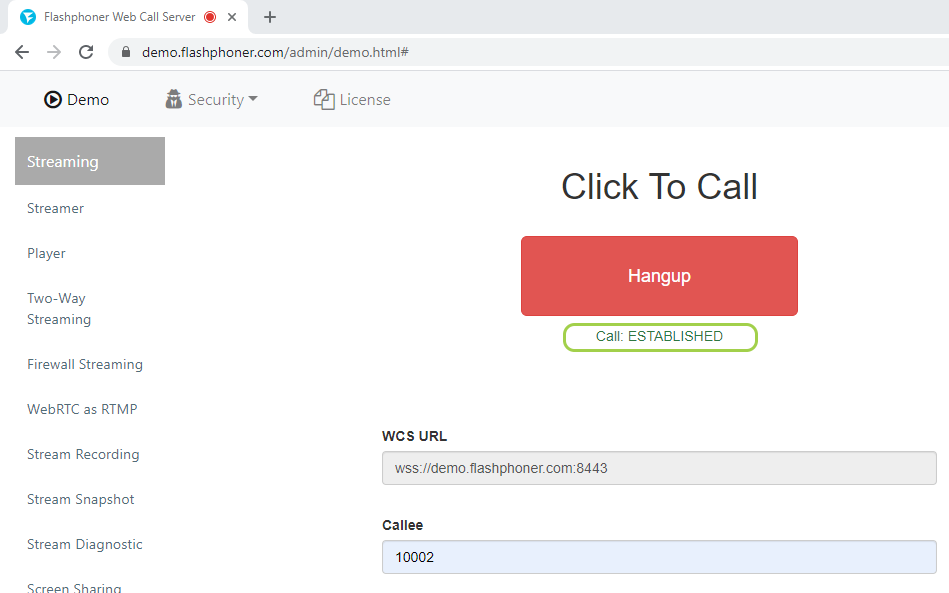
6. After a successful connection with the called subscriber, the “Call” button goes into the “Hangup” state, i.e. by clicking on it, you can end the call. The page also displays the current status of the call, which is ESTABLISHED
Adding a Click to Call button to a site is described in detail on the implementation page Embedding.
Download Web Call Server 5
System requirements: Linux x86_64, 1 core CPU, 2 Gb RAM, Java
Installation:
- wget https://flashphoner.com/download-wcs5.2-server.tar.gz
- Unpack and install using 'install.sh'
- Launch server using command 'service webcallserver start'
- Open the web interface https://host:8444 and activate your license
If you are using Amazon EC2, you don't need to download anything.

