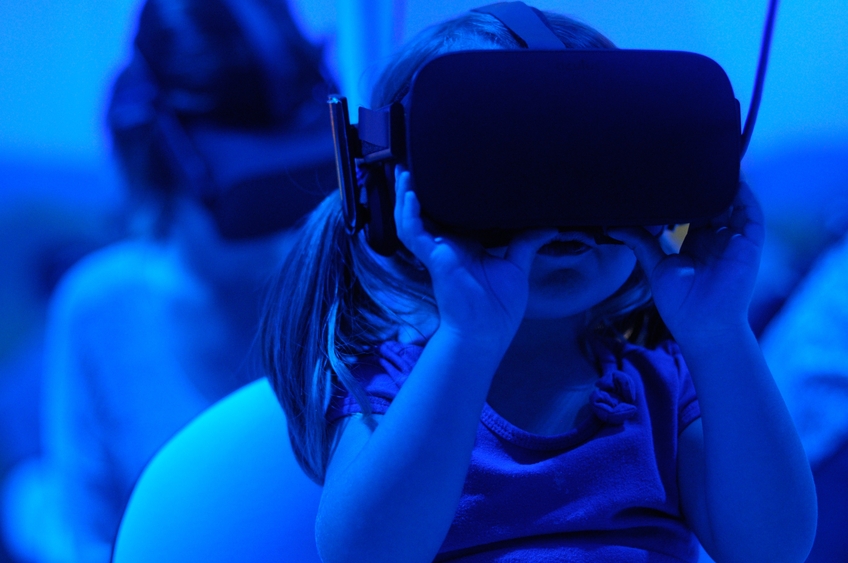
Today, the words “virtual reality” will not surprise anyone. Futuristic equipment, which we could only see in science fiction movies a couple of dozen years ago, is now available to regular users. Even those who cannot afford proper equipment can build a VR headset of available materials following a variety of DIY-tips with YouTube.
In addition to purely entertainment areas, such as games and movies, VR can be useful in many other areas of our lives. For example, one day, having received an inheritance from a prematurely deceased aunt, you decide to purchase a villa on the Cote d’Azur. But the trouble is, such a busy person like you has absolutely no time to visit each object offered by a real estate agent. This is where VR may come in handy. The real estate agent installs a special camera in the house, and you can view it without getting up from the couch leaving your office.
After viewing the property, you can ask what your children are doing after school and if your favorite cat is taking a nap on the windowsill. And virtual reality will come to the rescue once again – with the help of a pre-installed camera, you can inspect all the corners of your sweet home with the effect of “being there.”
Let’s figure out how to make everything work, so that the children do not run away and the cat does not eat your pot flowers.
Key difference between VR image
In fact, the VR media stream is no different from the usual one: a video track plus an audio track. But there is a feature.
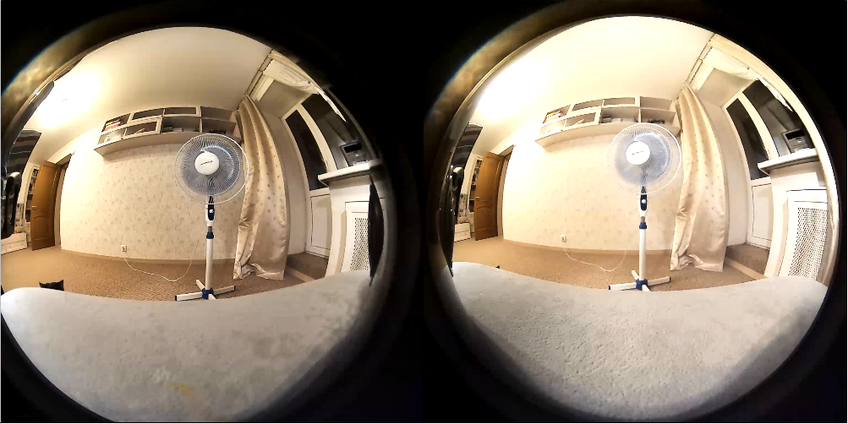
A VR stream assumes a stereo image. For this, a special camera with two lenses is used, each of which has a viewing angle of 180 degrees
Images from each of the lenses are collected in one frame,
The nuances of VR broadcast
So, we are talking about broadcasting 4K streams with a high bit rate. What do we have? We have RTMP and WebRTC.
RTMP is cheap, reliable and practical. It uses TCP, which is useful in case of not-so-good channels. There are various software solutions for the publishing client, both paid and free. However, despite all its merits, RTMP has high latency. In one of the previous articles, we noted a delay of 2-3 seconds in a 720p stream. In some cases, delays are acceptable, but VR will lag behind reality, and the children will surely scatter.
WebRTC is really cool. With good channels, delays are measured in milliseconds, and reality will remain reality. But there are nuances.
First, by default WebRTC runs on UDP, which will lead to losses at the slightest deterioration in channel quality. For a 4K stream, any little thing on the channel is already a deterioration. This can be dealt with by switching to TCP transport, but in this case…
Second, WebRTC is broadcast from the browser, and we both know which browser is currently the most popular on the planet (spoiler – it is not IE6). In this popular browser, the maximum publication bitrate at the engine level is 2500 kbps. As Google thinks, this is enough for FullHD but not enough for 4K. If the bitrate is not accelerated to 5 – 10 Mbps, viewers will see moving watercolor spots instead of virtual reality. Fortunately, there are special settings for overclocking the bitrate that work in pretty much all browsers on the Chromium engine. Then, overcoming this obstacle, we will run into…
Third, we will run into channel bandwidth. To publish and play a VR picture with the bitrate mentioned above, the client will need channels of 20+ Mbit, or better 50, and even better 100+ Mbit, both for download and upload. In this case, these should not be the parameters that the provider talks about in advertising booklets, but the actual bandwidth from the client to the server. By the way, read how to measure it without iperf and command line. Correspondingly, on the server side, it is desirable to have 10 Gb if a large number of streams is envisioned.
Fourth is what follows from the requirements for channels. Transcoding a 4K stream will take up too much processor resources on the server. Therefore, you must either choose a king-size server, which is expensive, or use encoding on video cards, which is also very expensive, or avoid transcoding. That is, never change the resolution, frame rate, and bit rate of the streams during broadcasting.
Let’s try to do this
Let’s take:
- a special camera;
- a special player;
- a server that can broadcast WebRTC from a browser
Mount the camera on a table or tripod
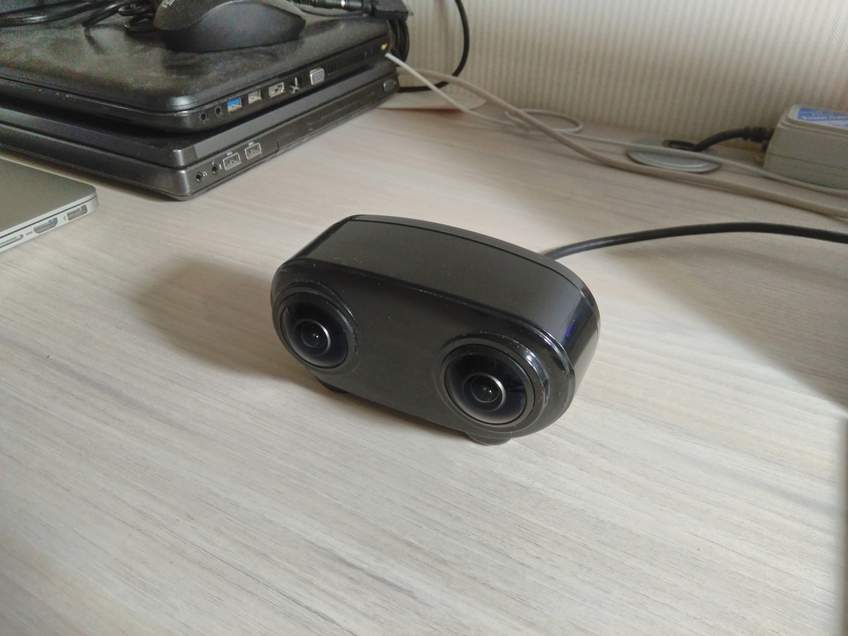
Connect it to the PC via USB 3.0 with 1A power, as for external drives
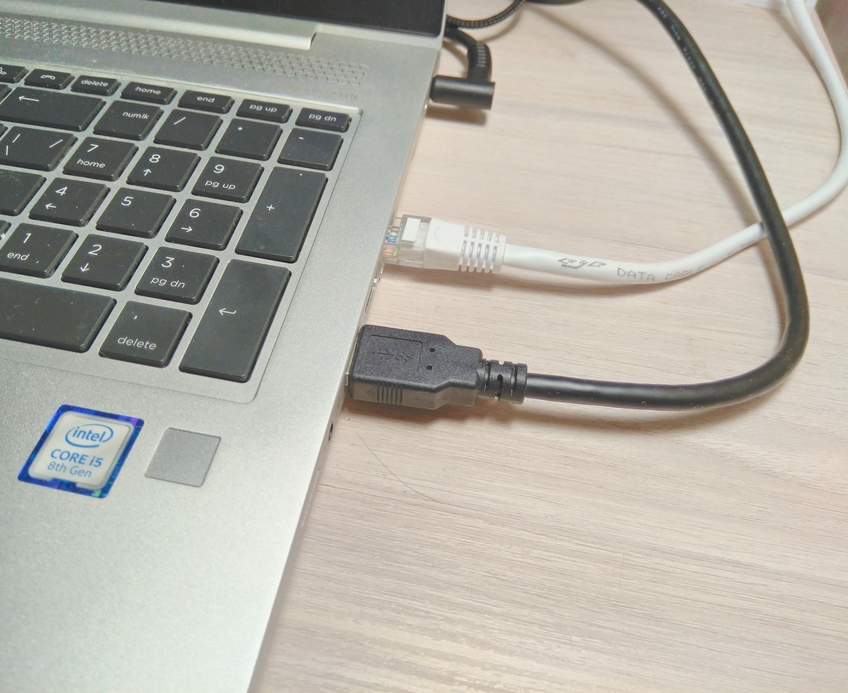
Note that the camera is very sensitive to equipment, and if the laptop has 2 USB 3.0 ports, it may well refuse to work with one of them. Make sure not to use a cheap Chinese connection cable; all pins provided for by the standard should be in place. Even with a perfect connection, the camera can produce glitch, like an old TV in a thunderstorm. The only positive thing is that no drivers are required for Windows 10; it’s an honest Plug-n-Play type connection.
We will set the necessary bitrate limits on the server side
webrtc_cc_min_bitrate=5000000
webrtc_cc_max_bitrate=10000000
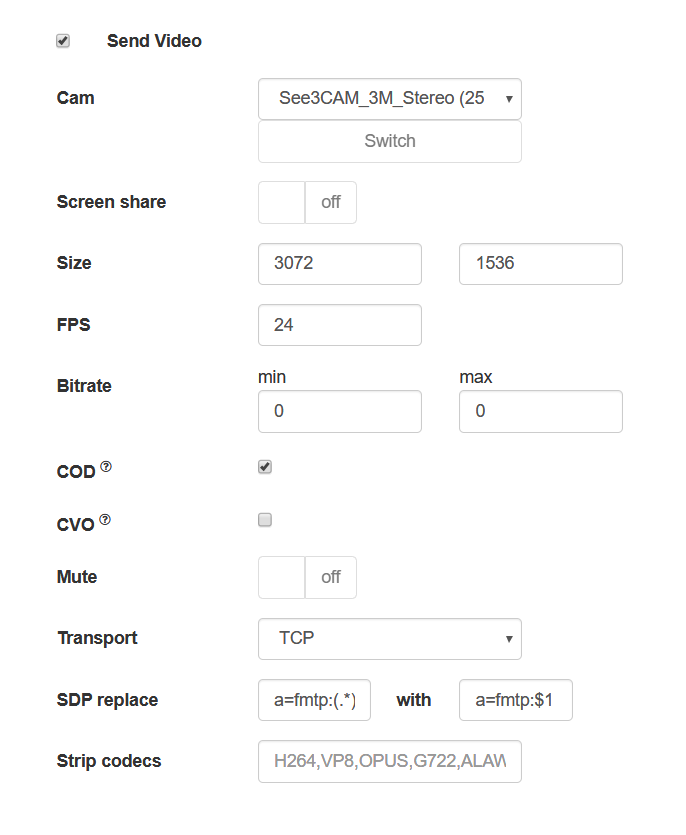
In Chrome, open the page of an example, allowing to set the necessary parameters to capture the stream from the camera, and set
- resolution of 3072×1536
- FPS 24 (the camera supports only this FPS when broadcasting from the browser)
- TCP transport
and configure the SDP settings so that the browser does not cut the bitrate on the client side
x-google-max-bitrate=10000;x-google-min-bitrate=5000
or the server side (in this case, the settings will be valid for all publishing clients)
webrtc_sdp_min_bitrate_bps=5000000
webrtc_sdp_max_bitrate_bps=10000000
Let’s publish the stream from the camera
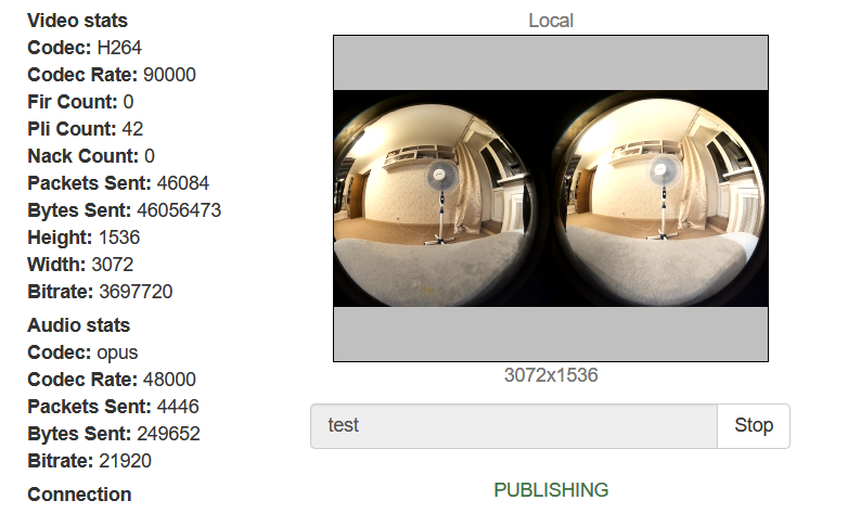
Now let’s try to play the stream with a regular WebRTC player
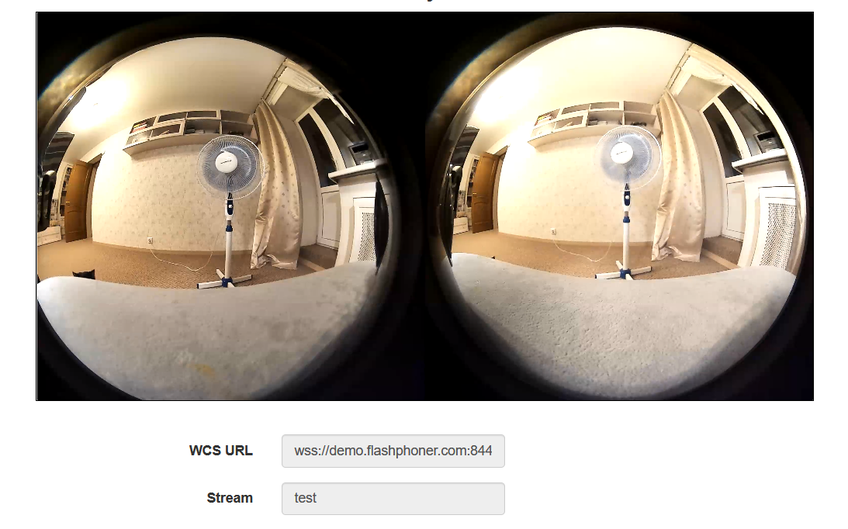
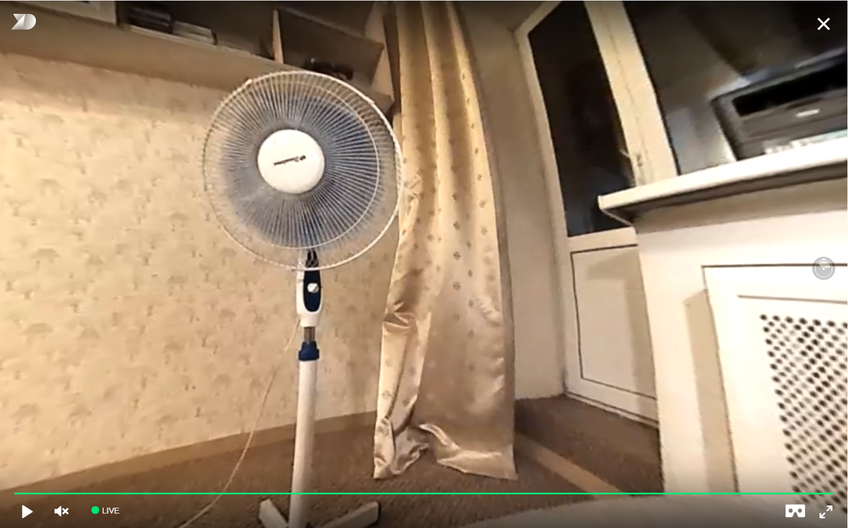
All is fine… Almost. The virtuality is not really virtual. Now let’s play the same stream in a special player embedded on the page
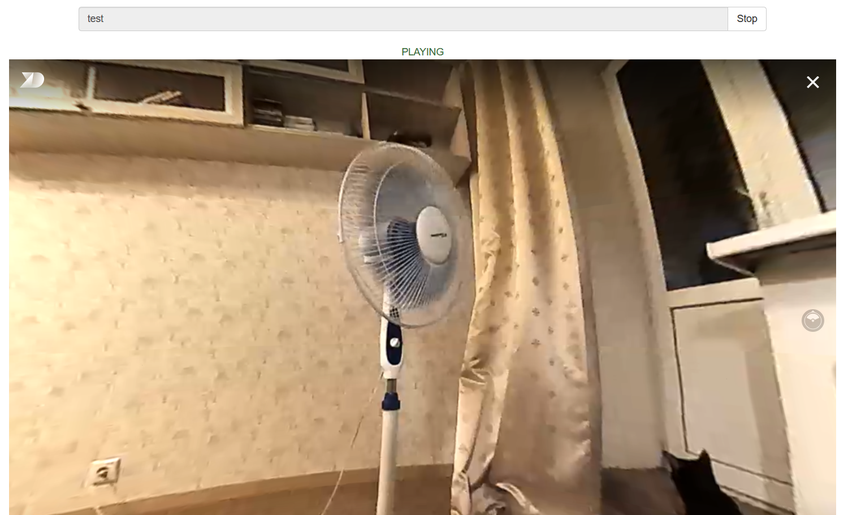
Now that’s better (and we have cats too). If you play the stream on a mobile device or in VR glasses, you can turn your head, and we will move the mouse in the browser on the PC. There is a kid hiding somewhere in this room. Let’s look to the left
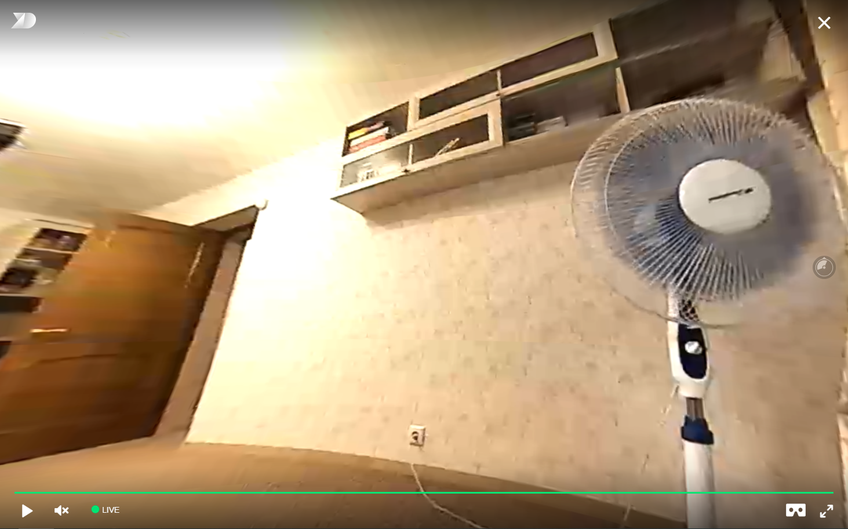
And now to the right
And now up
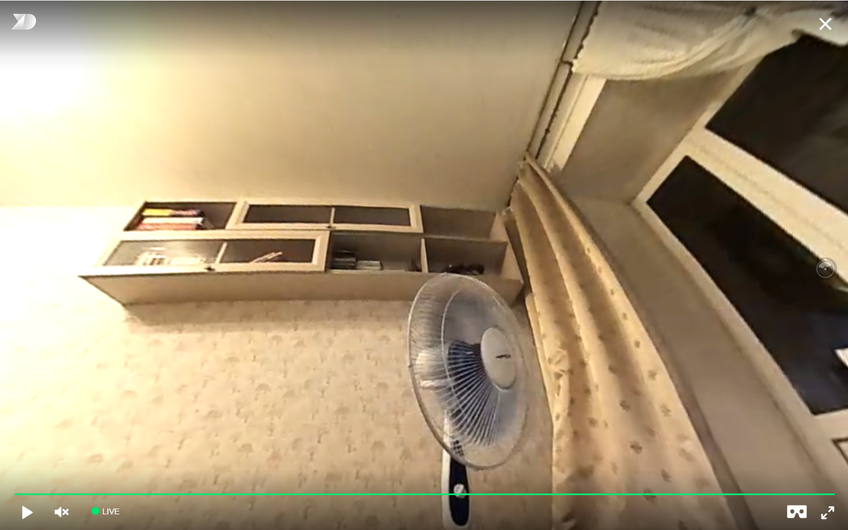
Where’s the kid? There he is, hiding behind the curtain. But the cats sees him!
We need more code!
There is little code on the client’s side.
Let’s publish the stream from the browser page
session.createStream({
     name: streamName,
     display: localVideo,
     cacheLocalResources: true,
     transport: "TCP",
     sdpHook: rewriteSdp,
     constraints: {
         audio:true,
         video: {
             width: 3072,
             height: 1536,
             frameRate: 24
        }
     }
}).publish();
SDP browser override feature
function rewriteSdp(sdp) {
    var sdpStringFind = "a=fmtp:(.*) (.*)";
    var sdpStringReplace = "a=fmtp:$1 $2;x-google-max-bitrate=10000;x-google-min-bitrate=5000";
    var newSDP = sdp.sdpString.toString();
    newSDP = newSDP.replace(new RegExp(sdpStringFind,"g"), sdpStringReplace);
    return newSDP;
}
An example of a page with a VR player
<!DOCTYPE html>
<html>
    <head>
        <title>WebRTC Delight</title>
        <meta charset="UTF-8">
        <meta name="viewport" content="width=device-width, initial-scale=1.0">
           <script type="text/javascript" src="../../../../flashphoner.js"></script>
           <script type="text/javascript" src="../../dependencies/jquery/jquery-1.12.0.js"></script>
           <script type="text/javascript" src="../../dependencies/js/utils.js"></script>
           <script src="dl8-player.js" async></script>
        <meta name="dl8-custom-format" content='{"name": "STEREO_TERPON","base":"STEREO_MESH","params":{"uri": "03198702.json"}}'>
    </head>
    <body>
        <div style="width: 50%;" id="display">
            <dl8-live-video id="remoteVideo" format="STEREO_TERPON">
                <source>
            </dl8-live-video>
        </div>
        <input class="form-control" type="text" id="playStream" placeholder="Stream Name">
        <button id="playBtn" type="button" class="btn btn-default" disabled>Play</button>
        <button id="stopBtn" type="button" class="btn btn-default" disabled>Stop</button>
        <script>
            Flashphoner.init({flashMediaProviderSwfLocation: '../../../../media-provider.swf'});
            var SESSION_STATUS = Flashphoner.constants.SESSION_STATUS;
            var STREAM_STATUS = Flashphoner.constants.STREAM_STATUS;
            var STREAM_STATUS_INFO = Flashphoner.constants.STREAM_STATUS_INFO;
            var playBtn = document.getElementById('playBtn');
            var display = document.getElementById('display');
            var dl8video = null;
            var url = setURL();
            document.addEventListener('x-dl8-evt-ready', function () {
                dl8video = document.getElementById('remoteVideo');
                $('#playBtn').prop('disabled', false).click(function() {
                    playStream();
                });
            });
            function playStream() {
            $('#playBtn').prop('disabled', true);
            $('#stopBtn').prop('disabled', false);
            var video = dl8video.contentElement;
            Flashphoner.createSession({urlServer: url}).on(SESSION_STATUS.ESTABLISHED, function (session) {
                var session = Flashphoner.getSessions()[0];
                session.createStream({
                    name: document.getElementById('playStream').value,
                    display: display,
                    remoteVideo: video,
                    transport: "TCP"
                }).on(STREAM_STATUS.PLAYING, function (stream) {
                    dl8video.start();
                    $('#stopBtn').prop('disabled', false).click(function() {
                         $('#playBtn').prop('disabled', false);
                         $('#stopBtn').prop('disabled', true);
                         stream.stop();
                         dl8video.exit();
                    });
                }).play();
            })
            }
        </script>
    </body>
</html>
Usually, when creating a stream for a player (query session.createStream()), we pass the div element, into which the video element will be mounted to play the stream via WebRTC. But the VR player uses its own video element, and we need to somehow forward it into the code of the API used. To do this, we directly pass the video element of the third-party player to the session.createStream() with the remoteVideo parameter
demo.flashphoner.com is used as the server side; examples of web applications are available on the links below.
Good luck in your VR endeavors! Happy streaming!
Links
An example for publishing a stream with the necessary parameters
An example of integrating a VR player into WebRTC streaming