Stream Transcoding Testing
We will test the operation of transcoding with control by REST request in the Google Chrome browser and the operation of transcoding in CDN
Option 1: Test Transcoding in Google Chrome
Use these instructions for quick installation and configuration of the server. In addition to that, you can connect to our demo server demo.flashphoner.com to perform the tests.
For testing, we will need the Google Chrome browser and REST client to send requests to the server. In this example, we use a virtual camera that plays a video clip.
Test plan
- Connect to the web interface of the WCS server
- Publish a stream
- Make a REST request for changing stream transcoding parameters
- Start playing the transcoded stream in the player
Testing transcoding of streams in Google Chrome
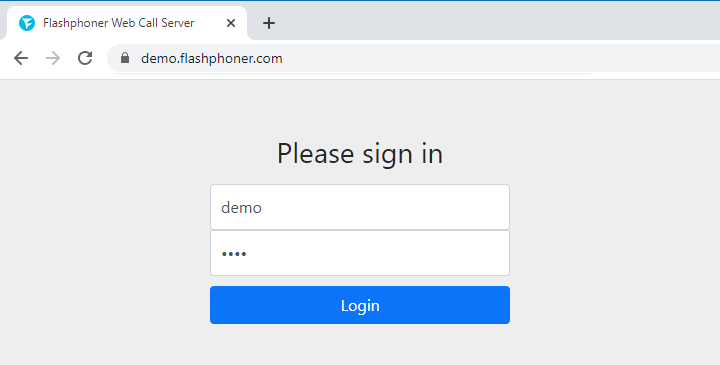
1. Log in to the web interface of the server demo.flashphoner.com
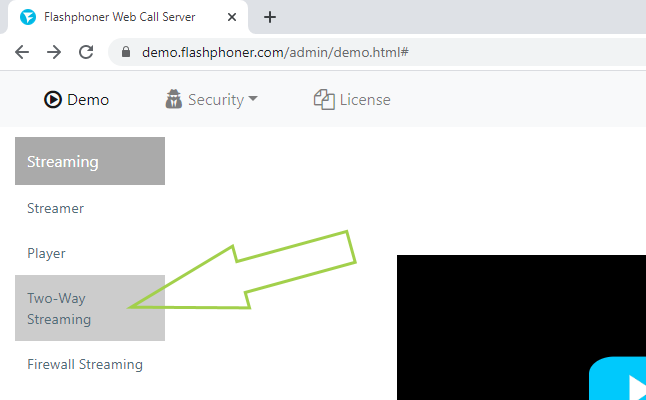
2. Select “Two-way Streaming” from the menu on the left side of the page
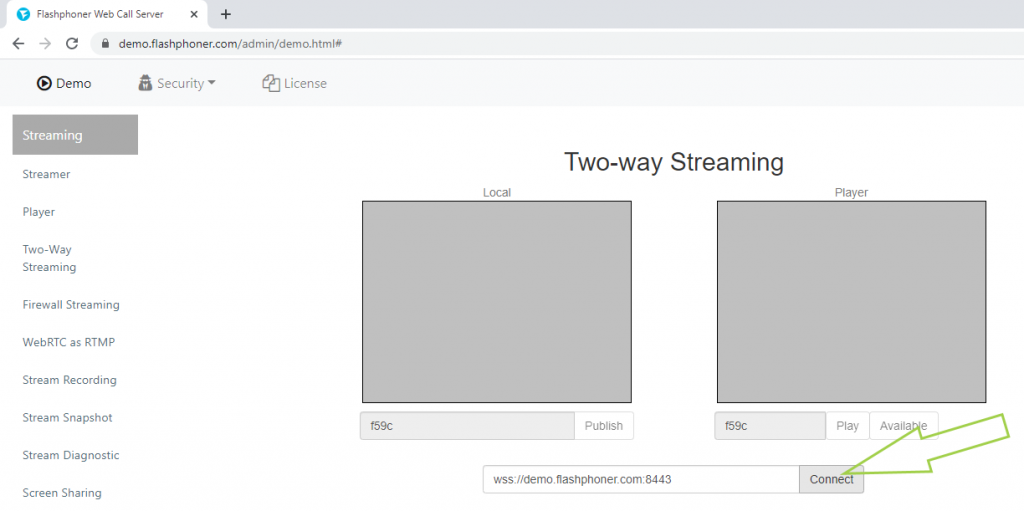
3. Click the “Connect” button
4. Verify that the status of the connection to the WCS is “Established”. Specify a stream name. We have “Stream1”. Click “Publish”
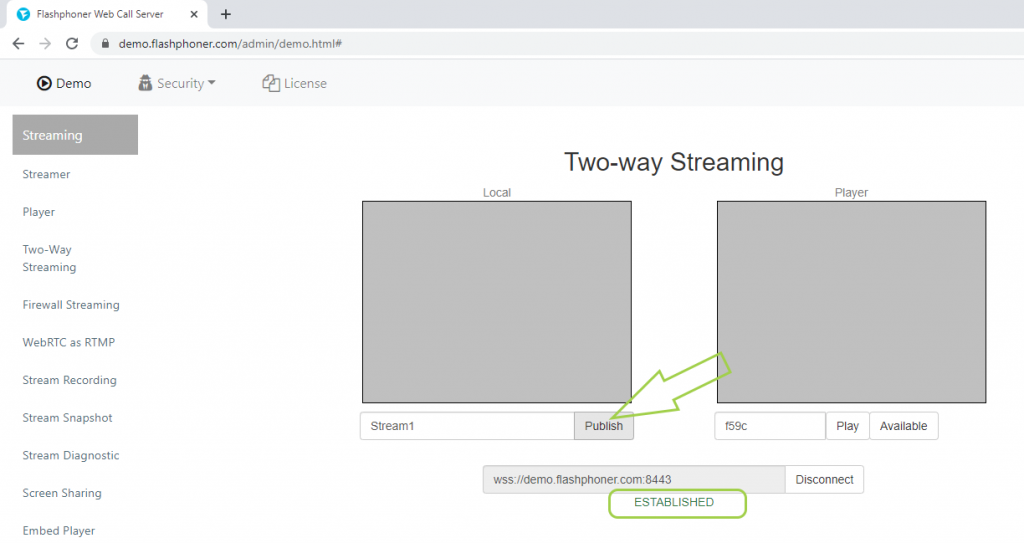
5. The video stream from the webcam is displayed in the “Local” player
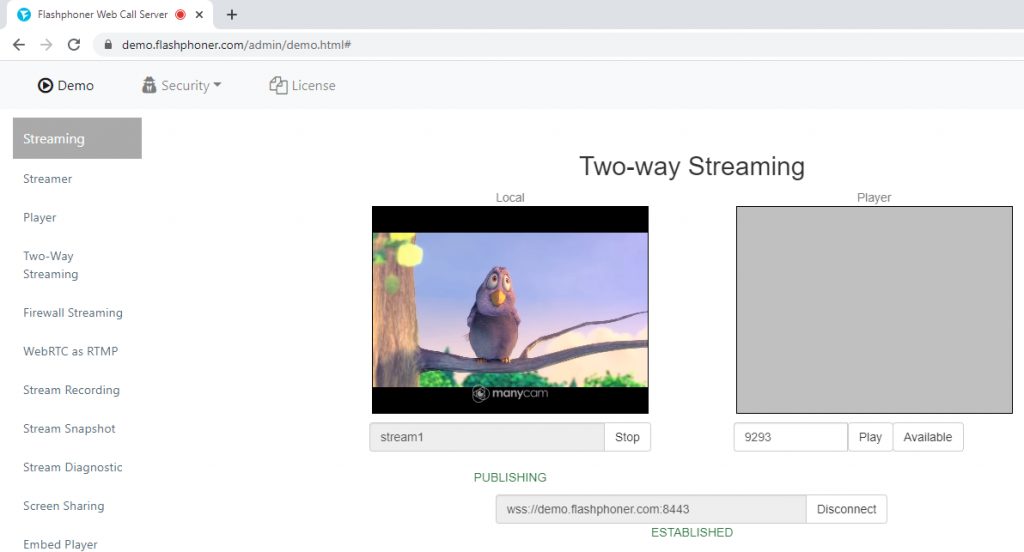
6. Open the REST client. Send the request /transcoder/startup, specifying the parameters
{
"uri": "transcoder://tcode1",
"localStreamName": "testT",
"remoteStreamName": "stream1",
"encoder":{
"width":640,
"height":480,
"keyFrameInterval":30,
"fps":30}
}
and click “send”
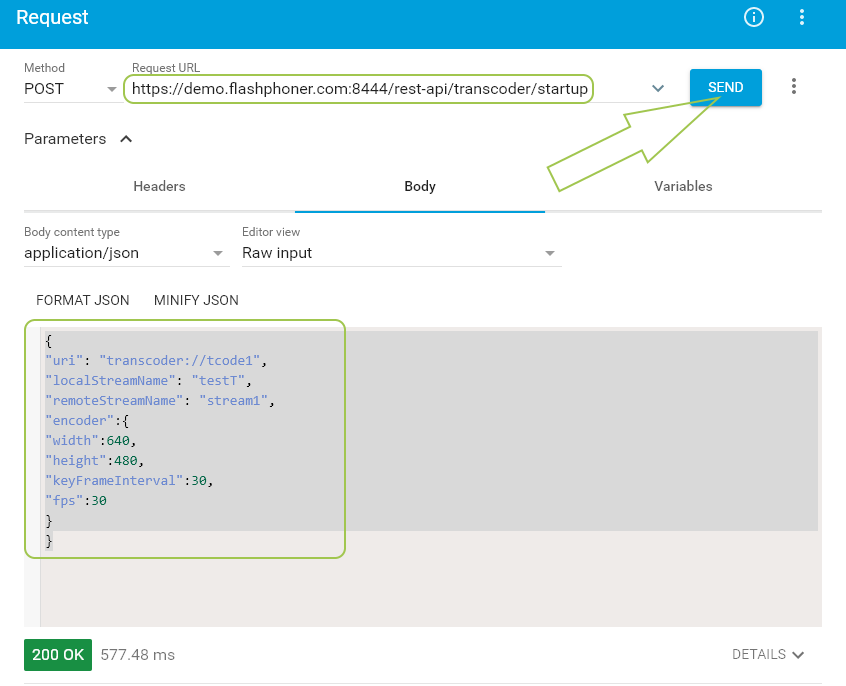
7. In a new browser tab, open the player and provide our transcoded stream “testT” for playback
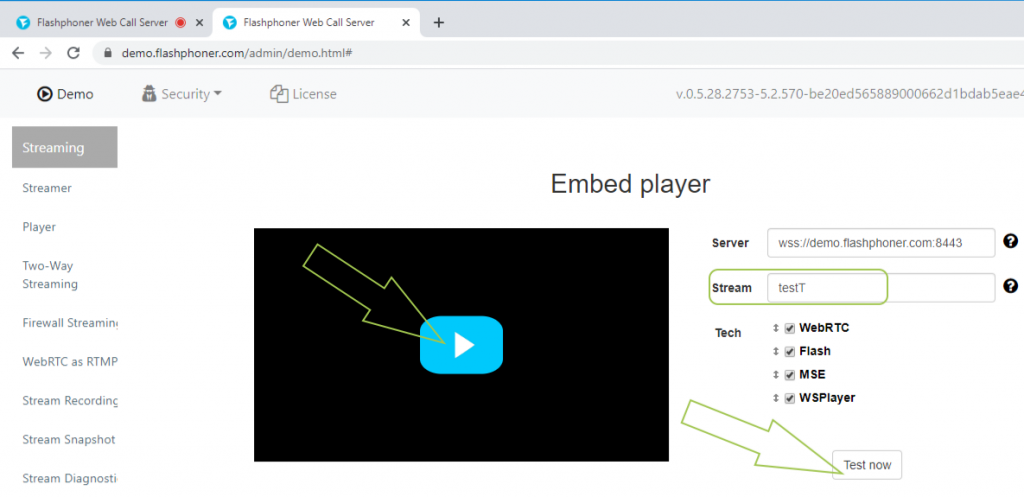
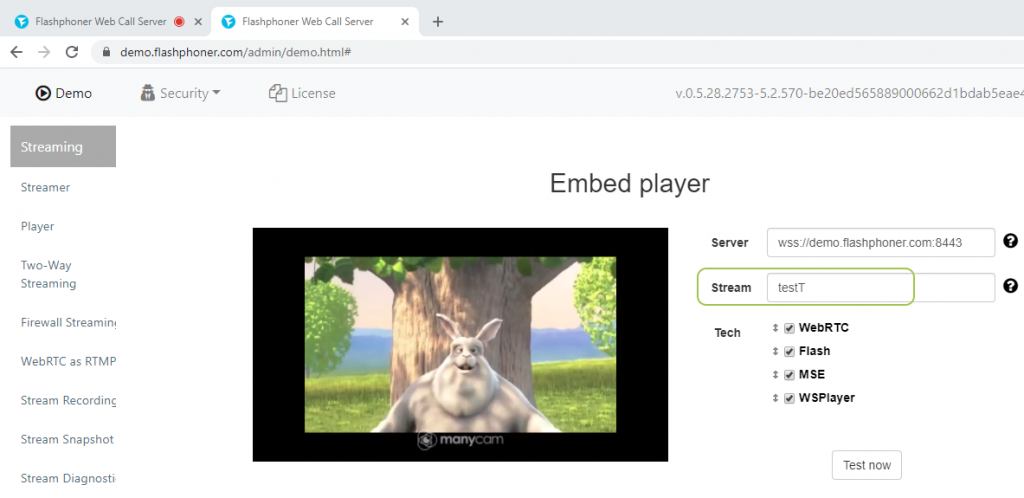
8. Done! The transcoded stream is played in the player
Option 2: Testing the operation of transcoding in CDN
For testing, we deployed three WCS Demo servers in the data center: Origin, Edge and Transcoder:
https://demo-origin.flashphoner.com:8444/
https://demo-edge1.flashphoner.com:8444/
https://demo-transcoder1.flashphoner.com:8444/
For instructions on deploying and configuring servers to work in CDN, see the Embedding CDN page.
Test plan
- Publish a video stream from a web camera to the demo-origin server
- Check with what parameters the video stream is published
- Play the transcoded stream from server demo-edge1
- Check with what parameters the transcoded stream is played
CDN Transcoding Testing
1. Log in to the web interface of the demo-origin server
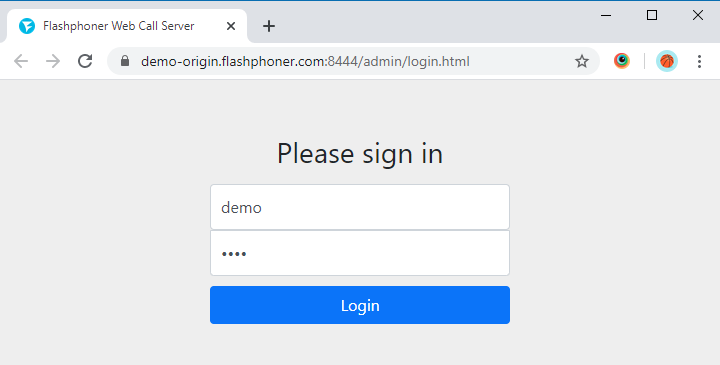
2. Select “Two-Way Streaming” from the menu on the left side of the page
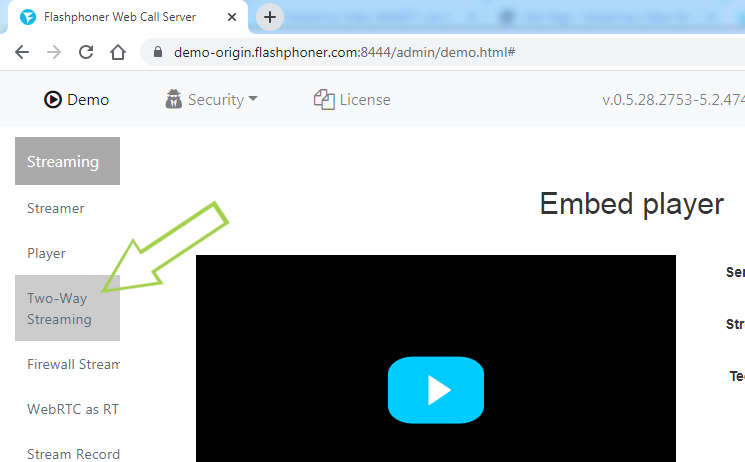
3. Click “Connect”
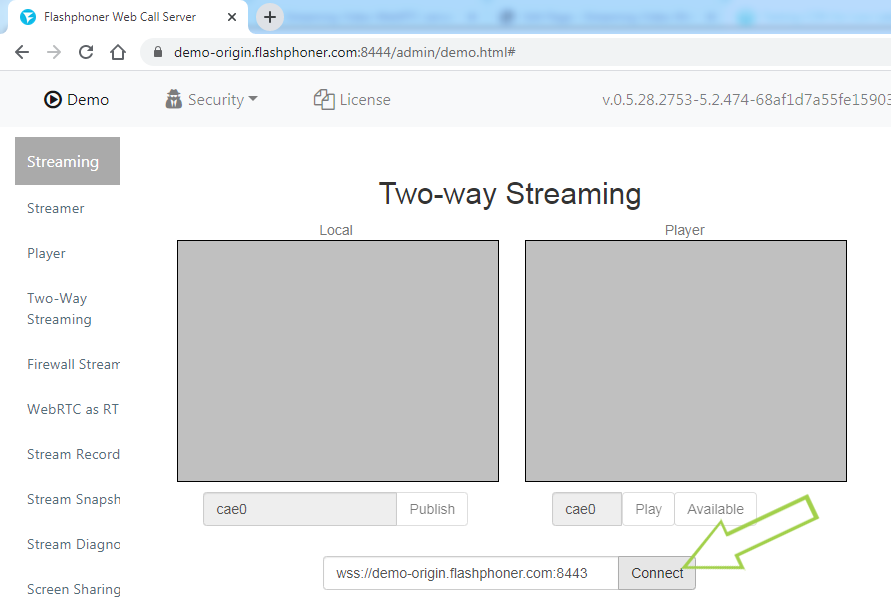
4. Wait for confirmation of a successful connection to the server (usually 1-2 seconds). Then specify a convenient name for the stream (in our example “Stream1”) and click the “Publish” button
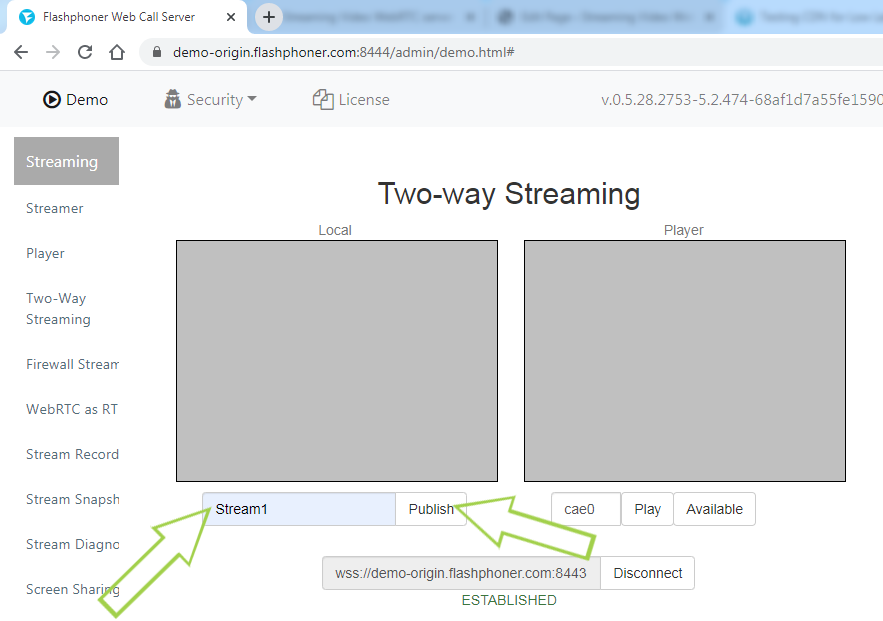
Your local video stream is displayed on the web page.
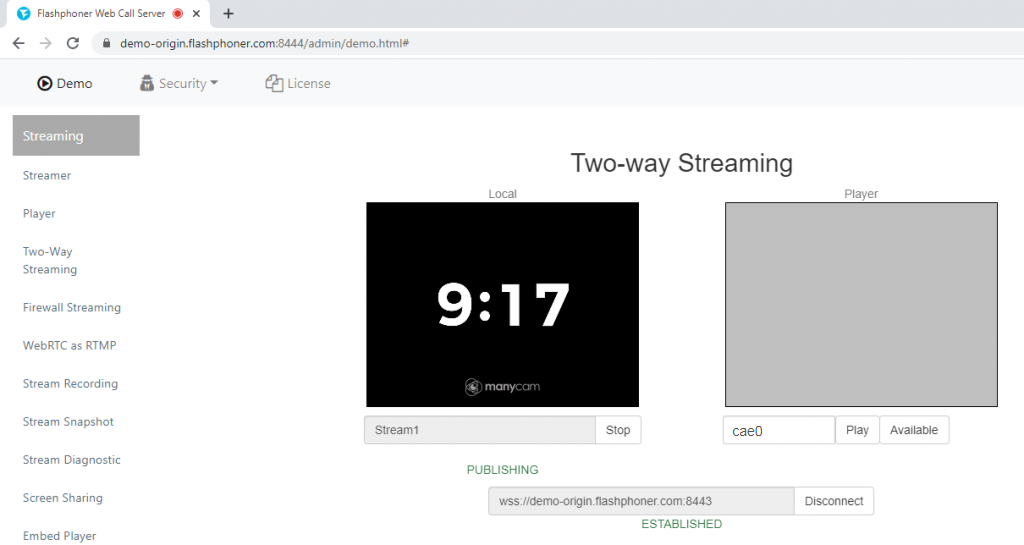
For testing, we use a video with a countdown timer, which we publish using a virtual camera.
5. Open the chrome://webrtc-internals page for demo-origin. In the section “Stats graphs for RTCVideoSource_12 (media-source)” we see that the video stream is published with parameters
width 320
hight 250
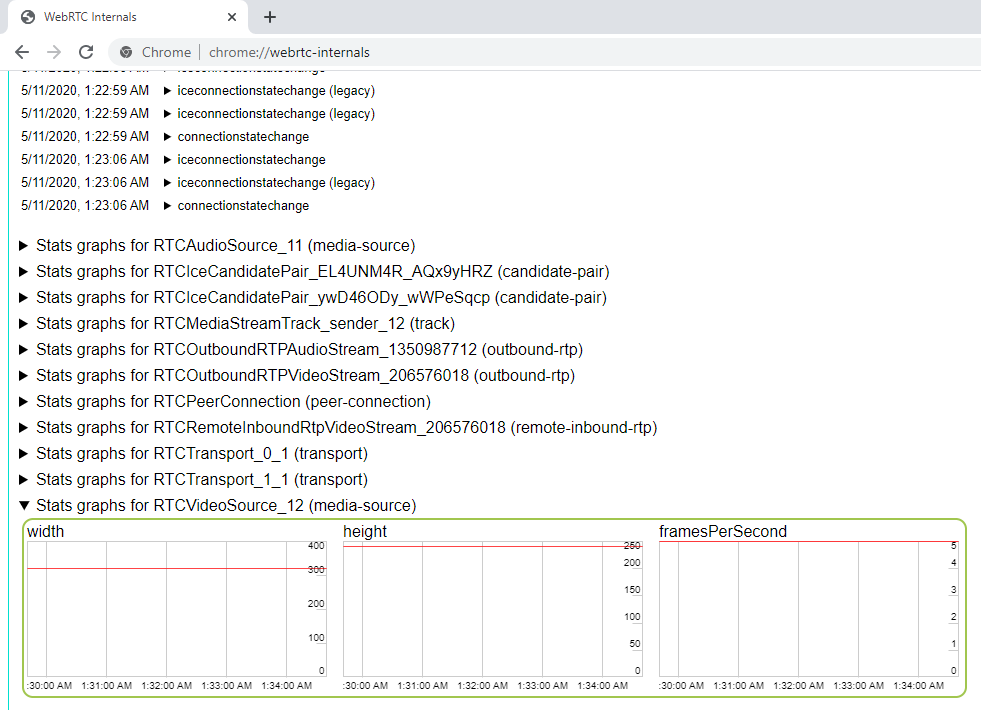
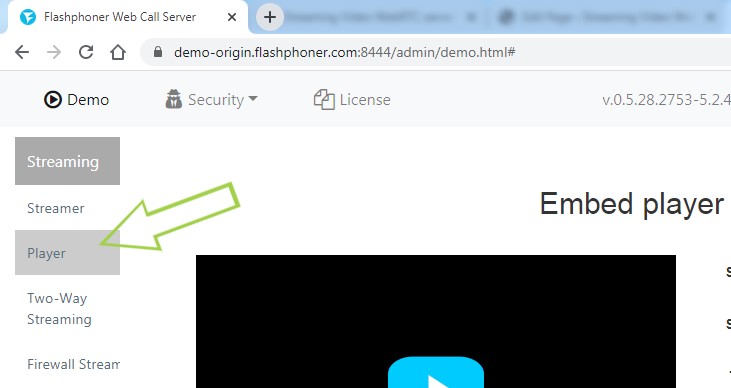
6. Log in to the web interface of the server demo-edge1. Select “Player” from the menu on the left side of the page
7. Indicate in the field “Stream” the name of the stream that you specified on the server demo-origin – “Stream1”, add to it the name of the transcoding profile “-profile1” and click the “Start” button.
The transcoded stream is played on the server demo-edge1.
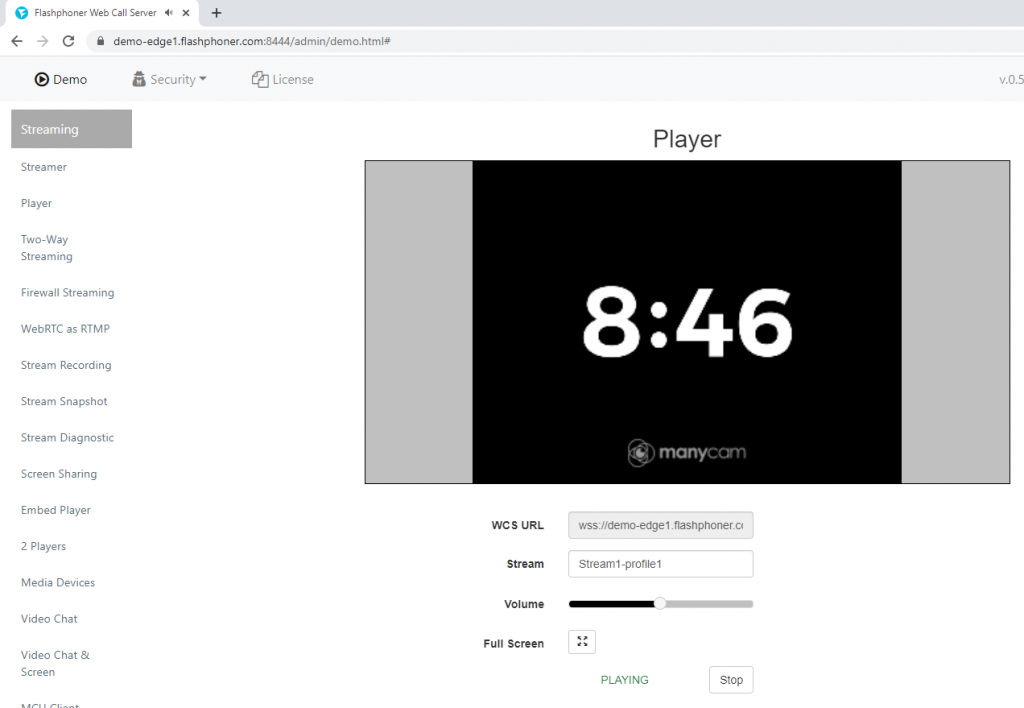
8. Open chrome://webrtc-internals for demo-edge1. In the “Stats graphs for RTCMediaStreamTrack_receiver_6 (track)” section, we see that the frame size has changed to
width 480
hight 360

For more information on implementing transcoding in your web project, see the page Embedding
Download Web Call Server 5
System requirements: Linux x86_64, 1 core CPU, 2 Gb RAM, Java
Installation:
- wget https://flashphoner.com/download-wcs5.2-server.tar.gz
- Unpack and install using 'install.sh'
- Launch server using command 'service webcallserver start'
- Open the web interface https://host:8444 and activate your license
If you are using Amazon EC2, you don't need to download anything.

